 (630) 528-1955









Exterior Wood Painting That Lasts: A Four-Phase Guide
If you’ve ever stood in your driveway staring at peeling trim or a fence that looks tired and gray, you already know the deal: wood outside takes a beating.
The sun bakes it. Rain swells it. Winter squeezes it. And when the paint finally gives up, it usually does it loudly, with flakes, bubbles, and bare patches that make your whole exterior feel neglected.
Still, you can absolutely get a durable, clean finish on exterior wood. You just need to slow down in the unglamorous parts and do a few things the right way, in the right order.
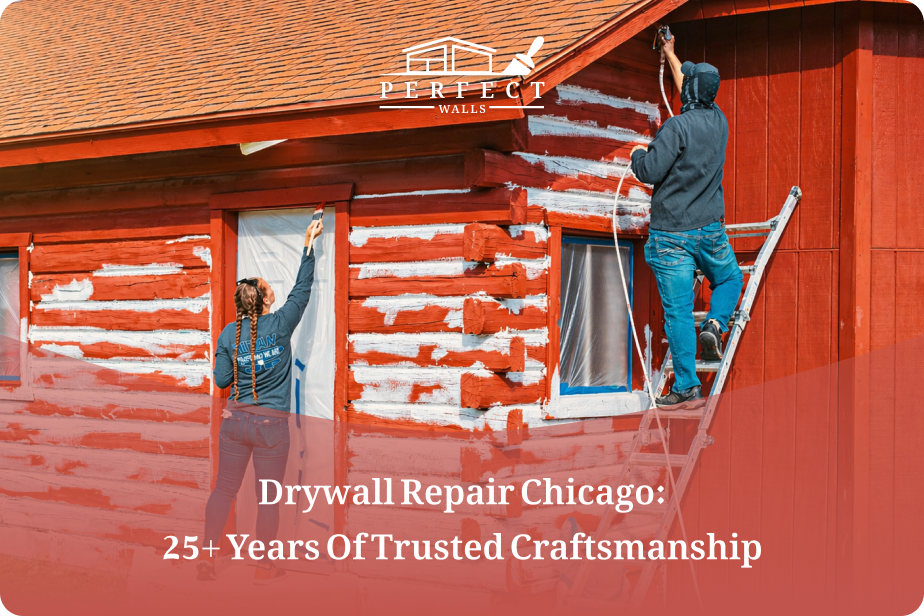
Exterior wood painting goes more smoothly when you follow a process. This guide outlines how our exterior painting team handles wood surfaces in Chicago, with an extra focus on prep work, priming, and avoiding mistakes that lead to early peeling.
The Four-Phase Framework for Exterior Wood Painting
Most paint jobs fail because one phase of the process was rushed, usually the boring one.
Keep these four in order, and you’ll squeeze years of extra durability out of your finish:
-
Assess. Understand what the wood is actually doing.
-
Prep. Clean, dry, scrape, sand.
-
Coat. Prime and paint as one system.
-
Finish strong. Apply with patience and cover the weak spots.
That’s the whole map. Every section below lives inside one of those four.
Phase 1: Assess the Wood Honestly
Painting exterior wood well starts long before you pop a can open.
Take a walk around your house like you’re inspecting it for a friend. Where does water sit after a storm? Which sides get blasted by the afternoon sun? Where did paint fail last time?
Watch for the usual suspects:
-
Peeling paint near edges and seams.
-
Failing caulk around trim, windows, and doors.
-
Soft wood that hints at wood rot.
-
Mildew stains that show up as dark streaks or green specks.
-
Weathered grain that looks rough or furry to the touch.
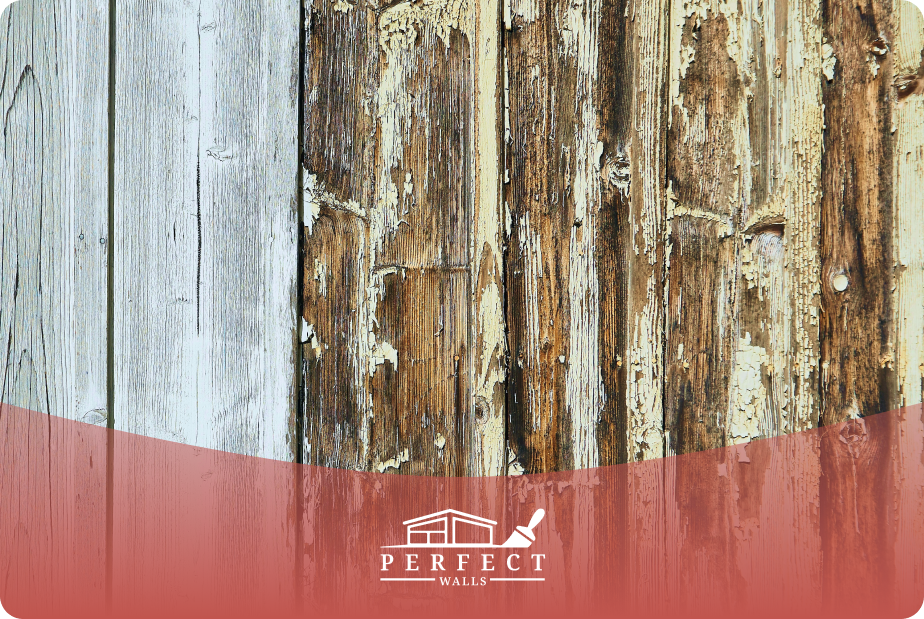
Some spots deserve extra scrutiny. Wood trim catches rain off the roofline. The lower courses of wood siding take splashback and snow. Sun-facing garage doors get cooked every afternoon. Garden fences catch the weather from both sides. Those are your repeat offenders.
If you find rot, deal with it before anything else. A coat of paint over soft wood traps moisture and accelerates damage. Fix first, paint after. You’ll thank yourself in two years.
Phase 2: Prep Work That Decides the Outcome
Prep work is where you either win or lose at exterior wood painting.
Nothing about it looks like progress, you might think. But here’s the thing: your paint is only as strong as what it’s sticking to. Stick it to dust, chalk, or a loose layer of old paint, and it fails on a schedule you won’t enjoy.
Start with cleaning. Pressure washing is great when the surface is solid but dirty, because it lifts chalky residue, allowing primer and paint to bond to the wood. When the wood is already rough, seams are opening up, or caulk is crumbling, back off and go with a gentler hand washing. Crank the pressure too high, and you’ll shred fibers and drive water deep into the grain, which sets you up for adhesion problems months later.
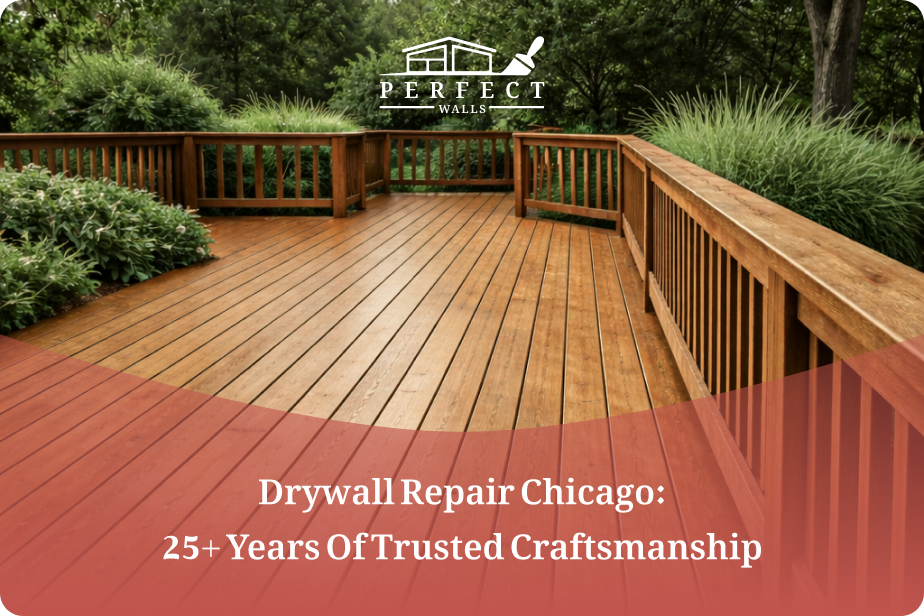
Then wait. Really, wait. Wood needs time to give up its moisture, and you can’t eyeball it accurately. In decent weather, plan on 48 to 72 hours of drying. Humid or shaded areas? Give it longer. This matters most on horizontal surfaces like decks, where water pools and soaks deeper than it does on siding. Anyone who has tried to restore a deck over damp boards has seen the coating lift within a season, and the same thing happens on siding, just less dramatically.
After that, scrape. The goal is to remove loose, failing paint, not to strip the wood bare. Any lifted edge you leave behind will keep lifting once fresh paint goes over it.
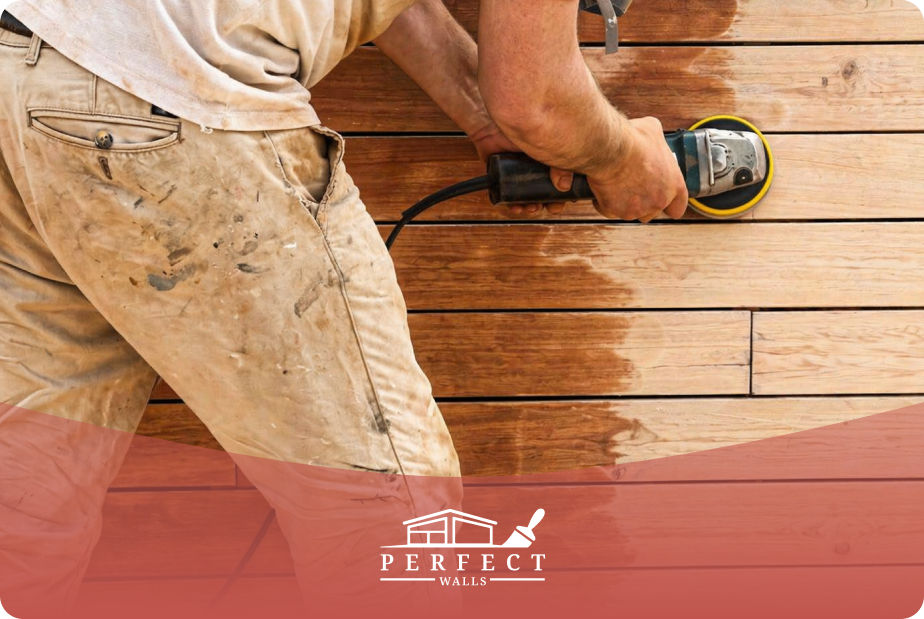
Then sand. Sanding feathers the edges between old paint and bare wood so ridges don’t show through the finish, and it smooths weathered fibers so primer sits flat. Skip it, and raised lines usually show up in the first season.
When you’re done, wipe the dust off before you prime. Primer laid over dust bonds to the dust, not the wood, and that peels sooner than it should.
One last step before you move on: replace failing caulk. Any gap at trim, window frames, door edges, or siding seams is an open door for water. Cut or pull out the old bead, clean the joint, and run fresh exterior-grade caulk. Paint won’t bridge those gaps for you, and water that gets behind the finish is what lifts it a year later.
Phase 3: Prime and Choose Paint Like One System
Priming and paint selection are usually treated as two separate decisions, but they shouldn’t be. They’re two layers of the same coating system, and they have to cooperate for the finish to last.
Start with the right primer
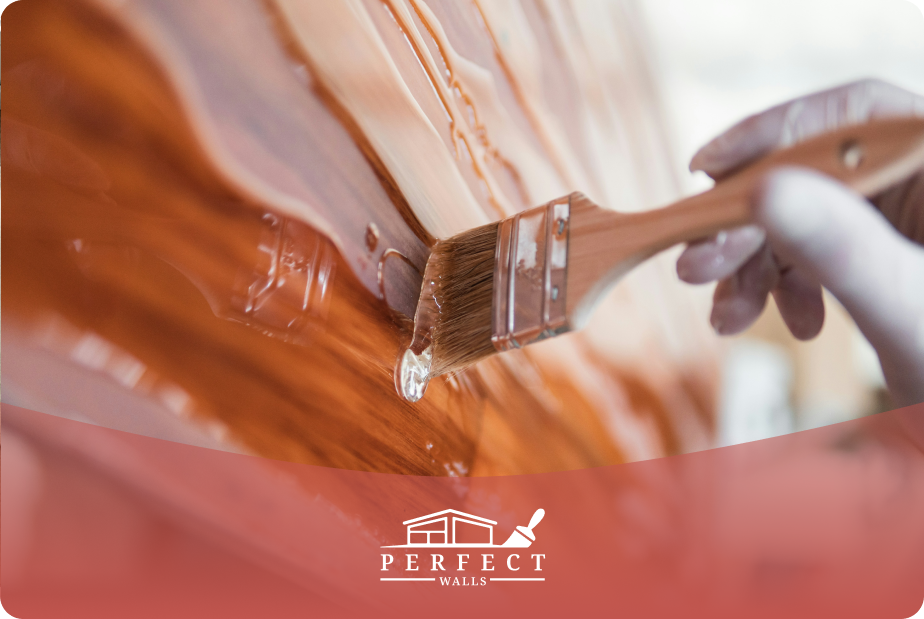
Priming is the unsung hero in this process. It bonds to tricky surfaces and gives your finish coat a stable base. Spot-prime bare or patched areas if the rest is solid. Go full prime if the surface is chalky, heavily scraped, or inconsistent.
A good exterior wood primer also blocks stains from knots and old discoloration that would otherwise bleed through within weeks.
What to look for in the paint
For most exterior wood, 100% acrylic latex is the safe default. It flexes with temperature swings, lets trapped moisture escape, and retains color under UV light. A few specifics:
-
Satin or low-sheen for wood siding. Hides small imperfections, still sheds water.
-
Semi-gloss for wood trim, doors, and garage doors, which take bumps and heat swings.
-
Mildew-resistant additives are worth paying for in Chicago’s humidity.
-
Stain-blocking oil primer under acrylic topcoat for tannin-heavy woods like cedar or redwood.
Then fit the product to the surface. Garden fences catch the weather on both faces and splash back at the bottom. Garage doors heat and cool fast. Trim peels first at the corners. No single can covers all of them equally well.
The color you pour into it is the other half of the call, and that’s the part people regret fastest. What looks calm on a swatch can go loud on a whole wall in Chicago daylight, so if you want a second set of eyes before committing, our design services keep you from a repaint you didn’t plan for.
Phase 4: Apply It So It Actually Lasts
By this point, prep is behind you, and every decision you make with the brush either protects that work or wastes it.
Plan on two coats, always
A single coat of paint can look decent on day one, but it won’t build enough thickness to survive weather, movement, and daily wear. Wood isn’t a uniform canvas: rough areas drink paint, end grain soaks it up, and older boards stay uneven even after careful prep. The second coat is what pulls everything into a consistent finish.
Technique that earns its keep
A handful of habits separate a finish that holds for years from one that starts failing by next summer:
-
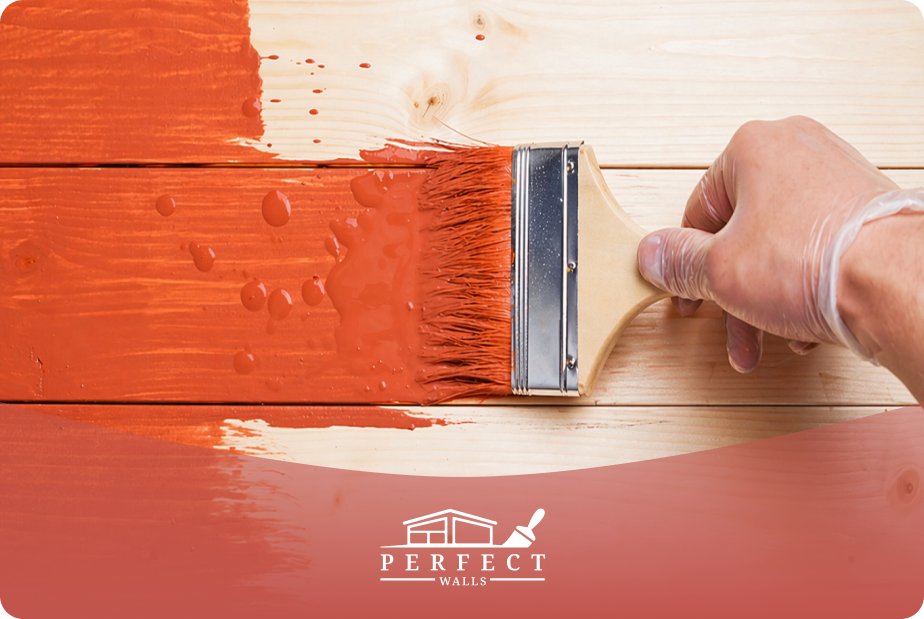
Work in controlled sections and keep a wet edge so you don’t leave lap marks.
-
Paint into the grain, not across the surface.
-
Skip direct hot sun, which sets the coating too fast and leaves drag marks and weaker bonding.
-
Follow the recoat window. Too soon traps solvents; too late, and the coats may not bond properly.
Surfaces that deserve extra patience
-
Deck paint lives horizontally, which means water sits on it and the sun cooks it all afternoon, so cleaning and drying carry extra weight here. On walking surfaces, a penetrating stain often outlasts paint and is easier to maintain, so it’s worth deciding which you actually want before the first coat.
-
Fences shift with moisture and tend to get painted on the “nice” side and forgotten on the back, which is exactly how paint cracks on the front.
-
End grain drinks water faster than any other part of a board, so prime it well and don’t be shy with coverage.
Get these right, and the finish starts looking like the kind of dream home exterior where every surface is quietly doing its job.
Get Exterior Wood Painting That Holds Up to Chicago Weather
Every shortcut in this guide costs years off your finish. Skipped prep shows up in the first season. Wrong paint on the wrong surface shows its age fast, and the label on the can rarely tells that story. And once the finish goes, the repaint is never cheaper than the first job.
Perfect Walls handles exterior wood painting across Chicago the way it’s written here: a full chain from inspection and repairs through prep work, priming, and application, run by one team that handles the full process. We work on wood siding, wood trim, garage doors, garden fences, and decks, and we aim for finishes that hold up through the tough Chicago seasons.
If your exterior is already telling you something, the sooner you look at it, the less it costs to fix. Get in touch with us today for a walkthrough and an honest estimate before the weather decides for you.
FAQs: Exterior Wood Painting
1. How long does a good exterior wood painting job last?
A good exterior wood painting job typically lasts 5 to 10 years, depending on sun exposure, moisture, prep work, and paint quality. South- and west-facing sides wear fastest. If you clean thoroughly, let the wood dry fully, handle scraping and sanding, prime bare areas, and apply two coats, you can push that lifespan closer to the upper end.
2. Do I really need primer for exterior wood painting?
Yes, in most cases. You need primer for exterior wood painting when you’re dealing with bare wood, patched spots, heavy scraping, or chalky old paint. Primer improves adhesion and seals porous areas so your finish coat lays down evenly. A good exterior wood primer also blocks stains from knots and reduces early peeling caused by weak bonding.
3. Can I paint over old exterior paint, or do I need to strip it?
You can paint over old exterior paint if it’s sound and well-bonded. Scrape off any loose paint, sand to feather the edges, and clean away the dust. Prime bare or patchy spots before your finish coats go on. If the old paint is widely peeling, heavily layered, or chalky across large areas, deeper removal is usually worth it.
4. What is the best weather window for exterior wood painting?
The best weather for an exterior wood painting project is dry, mild conditions with low humidity and stable temperatures. Avoid painting in direct hot sun or right before rain. After pressure washing, wait until the wood is fully dry, often 48 to 72 hours in good conditions. Cooler shade or higher humidity usually requires a longer drying window.
5. How do I keep paint from peeling or bubbling later?
To prevent peeling and bubbling after exterior wood painting, focus on moisture and adhesion. Clean thoroughly, let the wood dry completely, scrape off loose paint, sand the edges smooth, and prime bare or repaired spots. Apply two finish coats inside the recommended recoat window. Most peeling traces back to damp wood, skipped priming, or rushed prep work.