
 (630) 528-1955









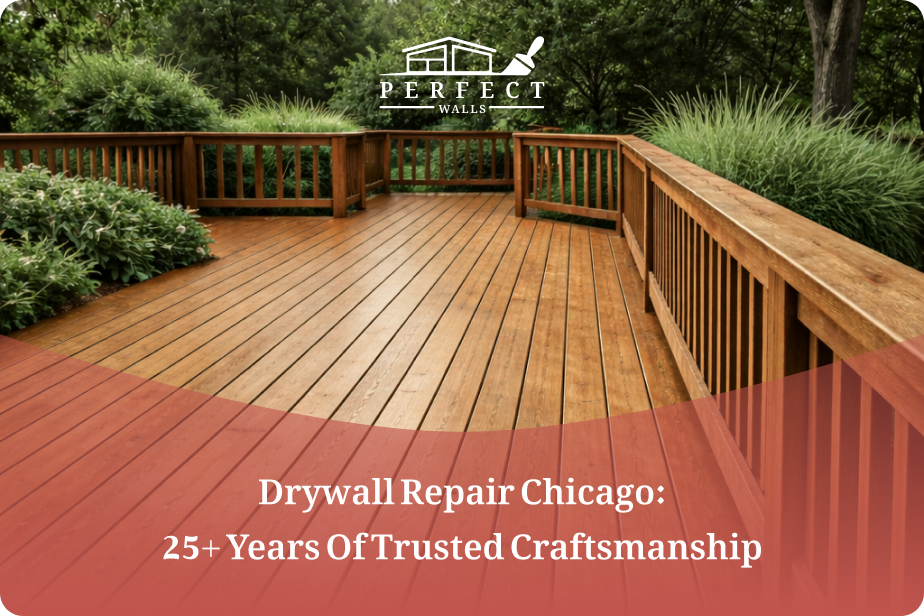
How to Restore a Deck That’s Seen Better Days
Rough splinters underfoot. Gray, washed-out boards where warm wood tones used to be. A dark patch of mildew in the corner you’ve been pretending not to see.
That deck used to be your favorite spot. Coffee in the morning, grilling on weekends, and kids running around. And now you’re standing there wondering if the whole thing needs to go.
Before you start pricing out a full deck replacement, know this: most decks that look terrible are still structurally sound. That weathered appearance is almost always surface-deep, and once you learn how to restore a deck properly, you’ll see that good prep and the right products are usually all it takes.
We handle deck refinishing and staining across Chicago as part of our exterior services, so we’ve seen just about every level of neglect. Most of them clean up better than their owners expect.
This guide shows you through the full process. Let’s get started!
Signs Your Deck Actually Needs Restoration
Before you buy anything or rent a sander, take ten minutes to really inspect your deck. Walk every section, and check for these signs:
-
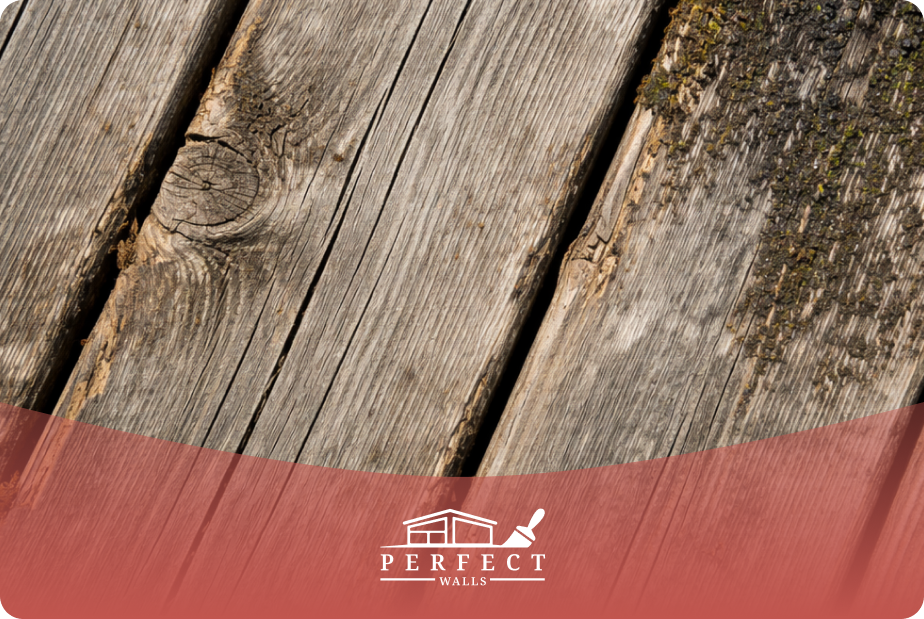
Graying or faded deck boards. Ultraviolet light breaks down the surface wood fibers over time. If the color is gone but the wood feels solid when you press on it, that’s just cosmetic damage. Fixable.
-
Splintering or rough wood surfaces. Old deck coatings wear away, leaving the grain exposed. Once the wood starts lifting, it gets worse fast.
-
Mold issues. Dark blotches, green film, slippery patches. Mold loves moisture, and it will eat into the wood if you don’t treat it in time.
-
Peeling or flaking deck stain. Previous stains that weren’t applied properly (or were applied over dirty wood) will peel. That old finish needs to come off before you do anything else.
-
The water test. Splash a little water on the surface. If it soaks right in instead of beading, it means the wood has no protection left.
Now, here’s the critical question: Is the structure in good shape?
Push a screwdriver into the boards, the joists, and the ledger board where the deck meets the house. If the wood is soft or crumbles, that section needs to be replaced. But if the frame is solid and less than a quarter of your deck boards are rotted, restoration is your best option.
How to Restore a Deck Step by Step
Step 1: Clear and Inspect
Pull everything off the deck. Furniture, planters, the grill, that stack of stuff in the corner. You need full access to every board.
Now inspect. Yes, again! Check the deck boards, step boards, railings, and connection points. Look underneath if you can. Mark anything that’s damaged, soft, or needs fastening. This is your renovation project’s starting point, and skipping it will cost you later.
Step 2: Clean the Surface
Most people underestimate the cleaning step, but it’s actually quite important.
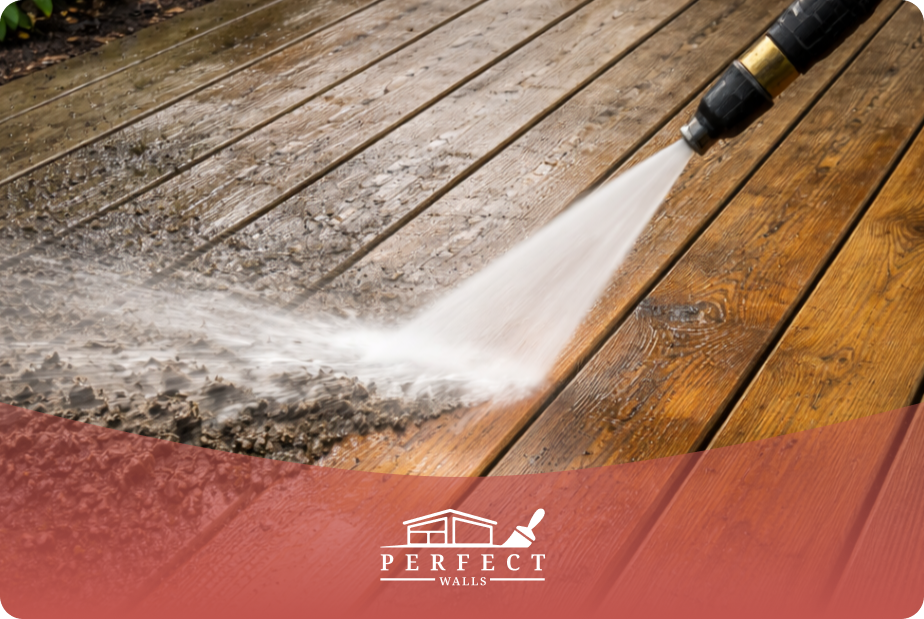
Grab a pressure washer or a deck-specific cleaner and strip away the dirt, mildew, graying fibers, and old finish. Work in the direction of the wood grain, but keep pressure moderate on softer species like cedar, as you can gouge it if you’re too aggressive.
A few things to keep in mind:
-
Protect your landscaping. Wet down plants and cover them before using any cleaning solution.
-
Don’t rush the drying. The wood needs 48 to 72 hours to dry completely before you do anything else. Staining wet wood is the single most common mistake in deck restoration, and you don’t want to start all over again in a few months!
Step 3: Sand and Repair
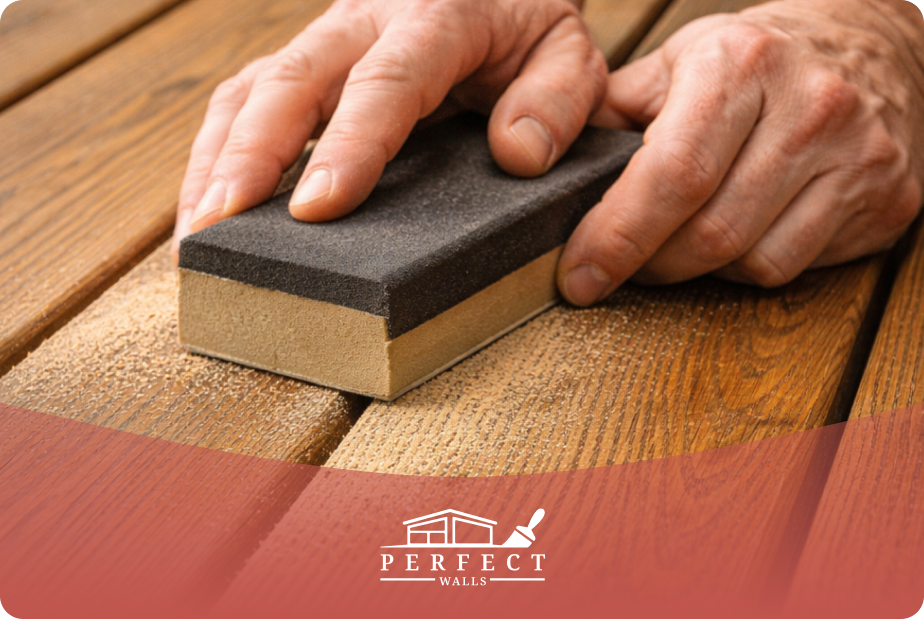
Once the deck is fully dry, sand the surface. You’re doing two things here: smoothing out rough spots and opening the wood grain so the stain can actually penetrate.
-
Use 60- to 80-grit sandpaper for heavy roughness, then follow with 100-grit for a smoother finish. A pole sander covers flat areas quickly. For railings and step boards, you’ll probably need to go by hand.
-
Replace any cracked or warped deck boards now. Fill small holes or gouges with exterior-rated wood filler. Hammer down or replace any popped nails and screws.
-
Sweep and blow off all the dust before moving on. Stain won’t bond to sawdust.
Step 4: Choose and Apply Your Stain
Now it’s the part where you get creative. Your choice of deck stain depends on what you want to see and how much protection you need.
-
Transparent stains let the natural grain show through. Beautiful on a newer cedar deck, but they offer the least UV protection and fade faster than others.
-
Semi-transparent stains add color while still showing wood texture. For most restoration projects, this is the one to reach for.
-
Solid stains cover the grain entirely and hide imperfections. Think of them as a thick, protective layer. Good for older wood that’s seen a lot of wear.
When picking stain colors, consider your home’s exterior palette. Warm tones like honey and amber complement natural siding. Darker stains hide more but handle heat better. If you’re unsure how the color will pair with the rest, our house painting and design team can help you dial it in.
Oil-based vs. water-based is another decision. Oil-based stains penetrate deeper and give a richer look, especially on hardwoods. Water-based stains dry faster, clean up more easily, and hold up well on softer woods like pine and cedar.
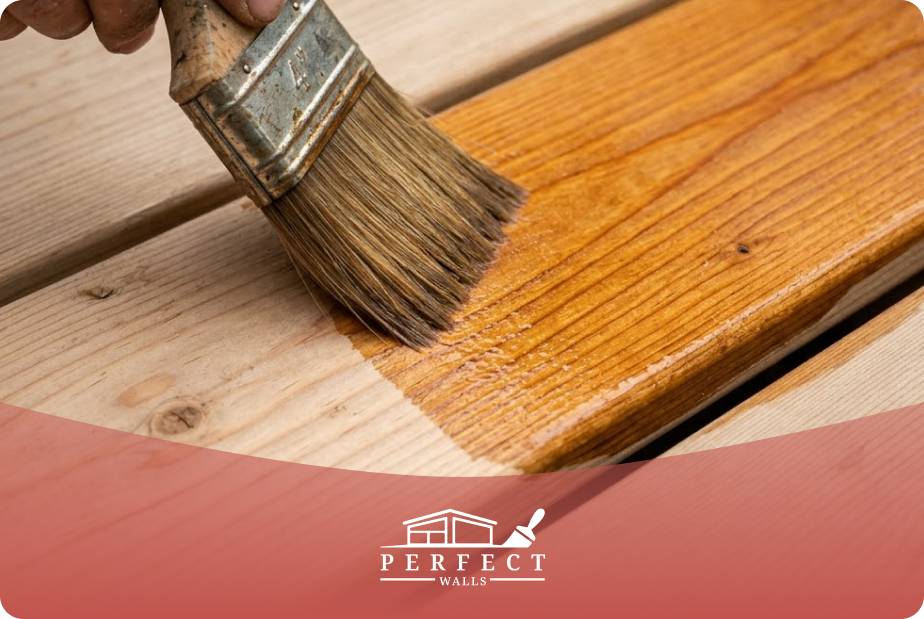
Apply with a brush, roller, or stain pad. Work in manageable sections, two or three boards at a time, and always follow the grain. Two thin coats will outperform one thick coat every time. Let the first coat dry before applying the second.
Don’t forget the undersides of railings, the step boards, and any areas that tend to trap moisture. Those spots need protection, too.
Step 5: Protect and Maintain
Once the final coat of stain cures (usually 24 to 48 hours, depending on the product), your wood deck is protected against ultraviolet light, moisture, and foot traffic.
A restored deck still needs maintenance, though. Most people stop here and wonder why they’re refinishing again in 18 months.
-
Sweep it regularly. Debris traps moisture against the wood.
-
Clean it once or twice a year with a mild deck cleaner. No pressure washer needed for maintenance washes.
-
Re-stain every two to three years, or sooner if you used a transparent finish. The water test works here, too. When water stops beading, it’s time!
Ten minutes of effort each season buys you years before the next full refinishing job.
Choosing the Right Stain for Your Wood
We covered the basics above, but stain selection deserves a closer look because it’s where many people second-guess themselves.
The wood species matters. A cedar deck absorbs stain differently from pressure-treated pine.
-
Cedar has natural oils that can interfere with water-based products, so oil-based stains tend to work better.
-
Pressure-treated lumber needs time to dry out after installation before it will accept any stain at all (the water test is useful again here!).
Deck coatings and wood finishes sit on a spectrum from “barely there” to “full coverage.” If your wood is in great condition and you want to show it off, go with a transparent or semi-transparent finish. If you’re restoring older boards with staining inconsistencies or minor damage, a solid stain gives you a clean, uniform result.
And think about how you’ll use your deck. High-traffic areas wear through faster. If your deck gets heavy use, a semi-transparent or solid product will hold up longer than a transparent one.
Common Mistakes That Ruin a Deck Restoration
You can do everything right and still end up with a disappointing result if you trip over one of these:
-
Staining damp wood. We said it already, but it bears repeating. If the wood isn’t bone-dry, wait. The stain will trap moisture underneath and peel.
-
Skipping the cleaning step. Old mold issues and embedded grime will prevent the stain from bonding. You’ll see blotchy, uneven coverage.
-
Applying stain in direct sunlight. The product dries too fast on the surface and doesn’t penetrate properly. Work in the shade, or time your project for an overcast day or early morning.
-
Ignoring the step boards and railings. These are the areas that get touched, leaned on, and stepped on the most. They need the same attention as the deck surface.
-
Using the wrong product for the wood species. A stain that works beautifully on pine can perform poorly on a cedar deck. Read the product specs and match them to your wood.
-
Over-applying. More stain does not mean more protection. Excess product pools and won’t dry correctly. Thin, even coats.
Get these right, and your deck can genuinely transform your space. We’ve seen it happen hundreds of times.
Restore Your Deck with the Help of Perfect Walls
Maybe you’re already measuring the deck and planning a trip to the hardware store. Good.
But if you’re dealing with a large deck, stubborn mold, or want the job done with commercial-grade stains and proper surface prep, having a professional team handle it can save you a lot of weekends.
Perfect Walls has more than 25 years of experience working on homes across Chicago. Our crew handles deck refinishing and staining, as well as power washing, exterior painting, and waterproofing. We assess the condition of the wood, recommend the right wood finishes and stain colors for your situation, and get the work done cleanly.
If you want to know how to restore a deck without the trial and error, request a consultation and let us take a look at what you’re working with.
FAQs: How to Restore a Deck That’s Seen Better Days
1. How long does it take to restore a deck?
A full deck restoration typically takes two to four days for an average-sized deck. Most of that time is drying: the wood needs 48 to 72 hours after cleaning before you can stain. The actual hands-on work, cleaning, sanding, and applying stain, usually fits into a few hours spread across two sessions.
2. Can you restore a deck that has turned gray?
Graying is surface-level damage caused by ultraviolet light breaking down wood fibers. It does not mean the deck is failing structurally. Cleaning with a deck brightener or oxalic acid solution removes the gray layer and exposes fresh wood underneath. Once clean and dry, the deck accepts stain normally and looks new again.
3. How often should you re-stain a wood deck?
Most wood decks need re-staining every two to three years, depending on stain type, sun exposure, and foot traffic. Transparent stains fade faster and may need annual touch-ups. Semi-transparent and solid stains last longer. Test by splashing water on the surface: if it soaks in instead of beading, it’s time.
4. Is it better to stain or paint a deck?
Stain is the better choice for most wood decks. It penetrates the grain, allows the wood to breathe, and handles foot traffic without peeling. Paint sits on top, forming a film that cracks and chips on horizontal surfaces exposed to weather. Stain also preserves the wood’s natural character, which paint hides completely.
5. When is a deck too far gone to restore?
A deck needs replacing when more than 25 to 30 percent of the deck boards are structurally soft, the joists or ledger board show rot, or the framing feels unstable underfoot. Surface damage like graying, staining, and splintering is almost always restorable. Structural failure is when deck replacement becomes necessary.