 (630) 528-1955









Do You Paint Trim or Walls First? Pros Weigh In
You’re standing in a room, painter’s tape in one hand and a brush in the other, when the question hits you: Do you paint trim or walls first?
You quickly Google it, only to find divided opinions: half the internet says trim first, while the other half swears it’s walls first. Both sides sound so confident that you can’t make up your mind.
Here’s the thing: there is a correct answer for most situations, and there’s a reason professional painters tend to agree on it. The order you choose affects how clean your lines look, how much taping you need, and how long the whole project will take.
At Perfect Walls, this is the kind of question our crew fields constantly from Chicago homeowners mid-project. So let’s break down both options and provide you with a straightforward process to achieve the best results in your home.
Do You Paint Trim or Walls First? The Short Answer
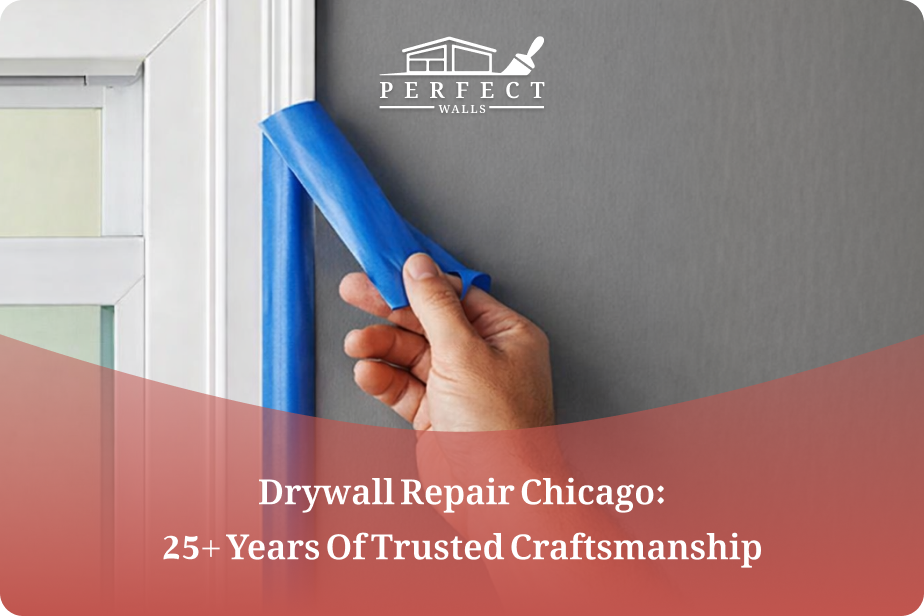
Paint the trim first and let it cure. Then tape it off and roll your walls.
That’s the approach most professional painters follow, and the logic is simple. Dried trim gives you a hard, clean edge to press tape against. When you roll the walls afterward, the tape creates a sharp boundary between wall color and trim color. The result is tight lines with minimal touch-up.
Walls first, then trim, works too, but it requires more brush control and a very steady hand when cutting in along edges. For most homeowners, picking up a brush on a weekend and trimming first is the safer, more forgiving order.
Why Some Painters Flip the Order
Not everyone goes trim first, and they’re not wrong to do it differently. Sometimes painting walls first makes practical sense.
Say you’re repainting a room and keeping the existing trim color. Your walls need two fresh coats, but the baseboards and frames are still in good shape. In that case, rolling the walls first and then touching up trim edges with a brush saves you a round of taping.
Or maybe you’re working in a tight hallway where taping long stretches of baseboard is awkward and time-consuming. Walls first, trim second, with careful brush work, can actually be faster.
Here’s a quick comparison:
-
Trim first: More taping, cleaner results, easier for beginners.
-
Walls first: Less taping, faster in some cases, demands a steady brush hand.
If you’re new to painting, go trim first. If you’ve done this a few times and trust your cutting-in skills, you can try the reverse.
Surface Prep: The Step Nobody Wants to Do (But Should)
No matter which order you choose, surface prep determines whether your paint job holds up or starts peeling within a year. Painting over dust, grease, or rough patches is like building on sand.
Clean everything. Wipe down baseboards, door frames, and walls with a damp cloth. Kitchen and bathroom trim tends to collect grease and soap residue that paint won’t adhere to, so you can use a mild degreaser to remove it.
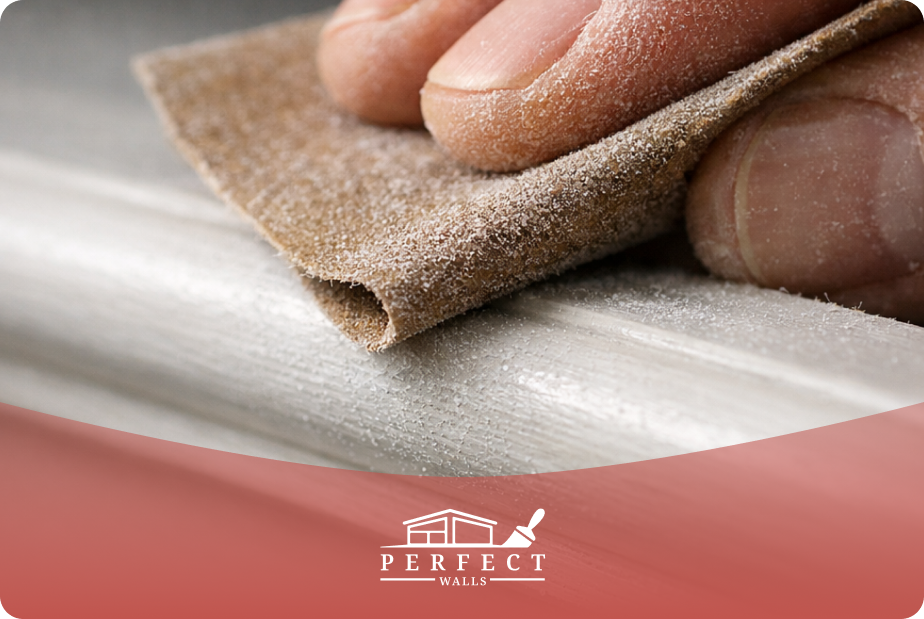
Sand glossy trim. If your existing trim has a sheen, scuff it lightly with 150-grit sandpaper. This gives the new coat something to grip. You don’t need to strip it down, just dull the surface to prepare it for the new coat.
Fill holes and dents. Address nail holes in trim, small dings on the walls, and cracks along the baseboards. You can use lightweight spackle for minor repairs like these, allowing it to dry completely before sanding flush. These details disappear under fresh paint, but only if you deal with them before you start rolling.
Prime when necessary. Bare wood, stains, and dramatic color changes all call for a coat of primer. If you’re going from a deep red wall to a light gray, primer keeps the old color from ghosting through. On trim that’s never been painted, primer prevents the wood from absorbing your topcoat unevenly.
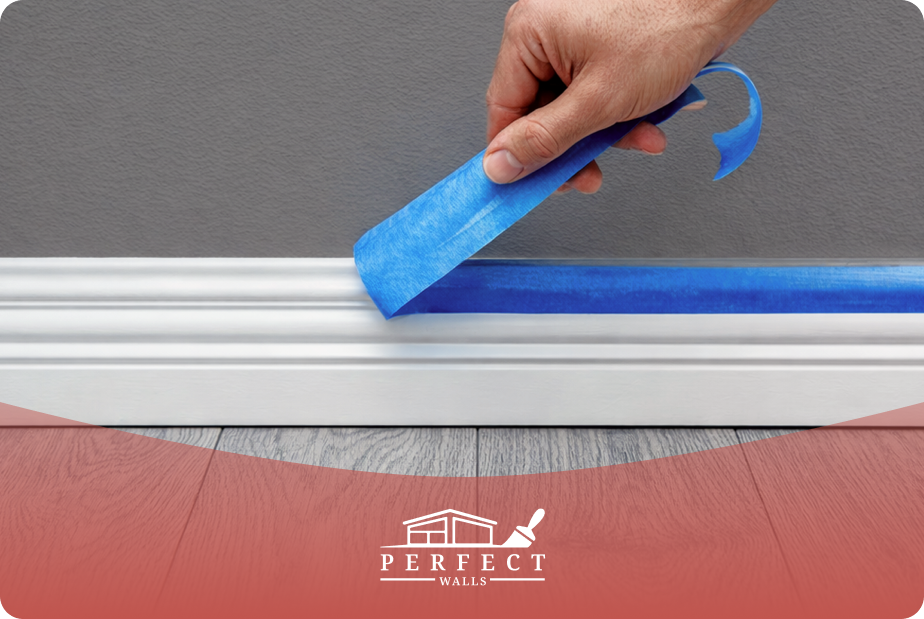
Tape with intention. When you apply painter’s tape, press the edge down firmly with a putty knife or your fingernail. Loose tape lets paint seep beneath, leaving a wobbly line that defeats the purpose. Remove tape at a 45-degree angle for the cleanest pull.
Effective wall prep is the key to a durable paint job: cleaning, sanding, and addressing any imperfections will set the stage for a flawless, lasting finish.
How to Paint Trim the Right Way
Trim sets the visual frame for a room. Crisp baseboards, clean door frames, smooth crown molding: these details register even when people can’t name exactly why a room looks polished.
Picking the right brush. A 2-inch to 2.5-inch angled sash brush gives you the control you need for trim work. In contrast, flat brushes are harder to maneuver into corners and along edges.
Load your brush correctly. Dip about a third of the bristles into the paint, then tap them against the side of the can (don’t wipe). Wiping strips off too much material leaves you with a dry, streaky stroke.
Work top to bottom. Start with crown molding if you have it, then move to window and door frames, and finish with baseboards. This way, any drips from above get picked up as you work your way down.
Use long, even strokes. Follow the direction of the trim. On baseboards, that means horizontal strokes. On door frames, vertical. Overlap each pass slightly while the paint is still wet to avoid visible brush marks.
Choose the right finish. Semi-gloss and satin are standard for trim. Both hold up to cleaning and resist scuffs better than flat paint. The slight sheen also creates a pleasing contrast against matte or eggshell walls, adding depth to the room.
How to Paint Walls for an Even, Smooth Finish
Walls are the largest surface in any room, so inconsistencies show. Lap marks, roller lines, uneven coverage: all of it catches the light. Here are a few practices that will help you:
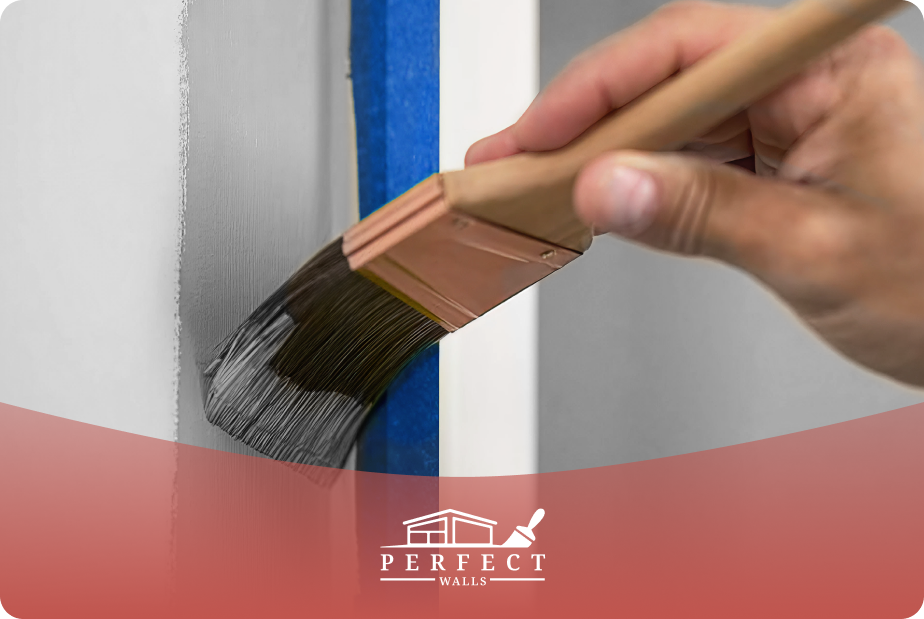
Cut in first. Before you pick up a roller, use a brush to paint a 2- to 3-inch border along the ceiling line, at the corners, and around any taped-off trim. This gives the roller a buffer zone, so you’re not trying to get it right up against edges.
Load the roller evenly. Fill a paint tray and roll the roller back and forth on the grate until the roller is saturated but not dripping. An overloaded roller splatters and leaves thick, uneven ridges.
Roll in a pattern. Start with a W- or M-shaped pattern on the wall to distribute paint, then go back over the area with straight, overlapping vertical strokes to smooth it out. Maintain a wet edge at all times. If you let one section dry before blending it into the next, you’ll see lap marks.
Apply two coats minimum. One coat almost never covers evenly, especially over patches or color changes. Let the first coat dry fully (check the can for recoat times; usually 2 to 4 hours for latex), then apply the second coat.
Match the sheen to the room. Flat and matte finishes hide imperfections on walls, making them popular for bedrooms and living rooms. Eggshell works as a versatile middle ground. Satin or semi-gloss stands up better to moisture and scrubbing in kitchens and bathrooms.
Do You Paint Trim or Walls First in Different Rooms?
The general rule (trim first) holds for most spaces, but specific rooms have quirks worth noting.
-
Bedrooms and living rooms. Standard approach: paint the trim, let it cure overnight, tape, then roll the walls. Clean and predictable.
-
Kitchens and bathrooms. Still trim first, but use moisture-resistant paint on both trim and walls. Give the trim extra drying time before taping, as water damage and humid conditions slow the curing process.
-
Hallways and stairwells. Walls first can save time here. Long, narrow spaces make taping extensive baseboard runs tedious, and the trim areas are usually simple enough to cut in by hand.
-
Rooms with intricate molding or frames. Always trim first. Trying to freehand a brush along detailed millwork while protecting freshly painted walls is a frustrating way to spend an afternoon.
Bring Your Project to a Professional Finish with Perfect Walls
You’ve read the whole breakdown. You know the order, the tools, the prep, and the technique. Some of you are ready to head to the paint aisle this weekend. Others are looking at the crown molding in the living room and quietly thinking, “Maybe not!”
Both reactions are valid. Painting a single room with simple trim is a very doable weekend project. Painting an entire home, or dealing with older woodwork, high ceilings, and multiple colors, scales up fast in both time and difficulty. Plus, mistakes compound: a bad cut-in line on one wall becomes ten bad cut-in lines across a floor of rooms.
Perfect Walls handles residential painting projects all over Chicago, and our approach mirrors what you’ve read here: thorough prep, the right sequence, quality materials, and clean execution. Because our crews do this every day, we’re able to deliver results that are not only faster but consistent from room to room.
Book your consultation today and get a clear, honest plan for your space before you commit your time, budget, and energy. No pressure, just a better starting point.
FAQ: Do You Paint Trim or Walls First?
1. Do you paint trim or walls first?
Professional painters typically paint trim first, allow it to dry, then apply tape along the trim edges before rolling the walls. This order produces the sharpest lines because dried trim provides a firm, clean surface for painter’s tape to seal against.
2. Can you paint walls and trim on the same day?
You can paint walls and trim on the same day, but plan carefully. Paint the trim in the morning and allow at least four to six hours of drying time before taping it off for wall painting. Latex trim paint often feels dry within an hour, but taping too soon can lift the fresh finish.
3. What type of roller is best for painting walls?
A 3/8-inch nap roller works well for smooth to lightly textured walls. For a heavier texture, move up to a 1/2-inch or 3/4-inch nap. Microfiber rollers produce a smooth, lint-free finish on flat surfaces. Always match the roller nap to your wall texture for even coverage.
4. Should you paint trim with a brush or roller?
Use a brush for most trim work. A 2-inch to 2.5-inch angled sash brush offers the best control on baseboards, frames, and molding. Small foam rollers can speed up work on wide, flat trim pieces like door panels, but a brush handles edges and detail work more precisely.
5. How long should you let the trim dry before you tape it?
Allow trim paint to cure for at least 24 hours before applying painter’s tape. The surface may feel dry in one to two hours, but the underlying paint layer needs a full day to harden, so that removing the tape won’t peel or damage the fresh coat.