 (630) 528-1955









Drywall Repair and Painting: A Guide to Prepping Walls
Drywall repair and painting go hand in hand. Even the best paint products won’t hide cracks, nail holes, or uneven drywall finish, and small mistakes in preparation can become painfully obvious once the paint dries. That’s why learning how to repair drywall before painting is one of the most valuable skills you can develop as a homeowner.
In this guide, we’ll take you through the entire drywall repair and painting preparation process. From assessing wall damage to final checks before you paint, you’ll learn how to achieve smoother walls and longer-lasting results at home. We’ll focus on what really works, common mistakes, and how to fix them.
Whether you’re touching up a single repaired drywall or refreshing an entire wall as part of a larger home project, the principles are the same: careful repairs, patient prep, and smart painting decisions.
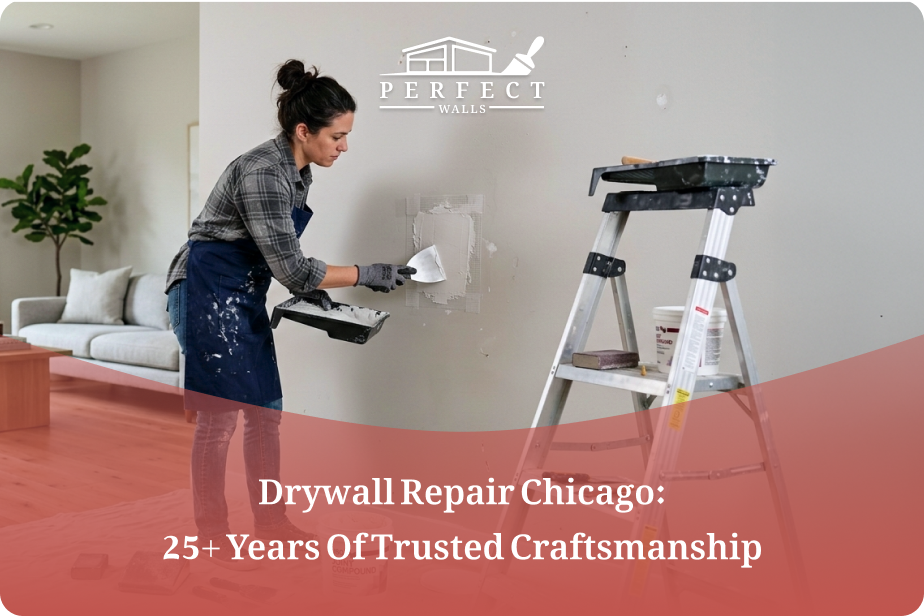
Inspecting Your Walls Before You Start: What to Look For
Before buying products or opening a can of paint, take a moment to carefully inspect your walls. Good drywall repair and painting start with knowing exactly which problem areas need work.
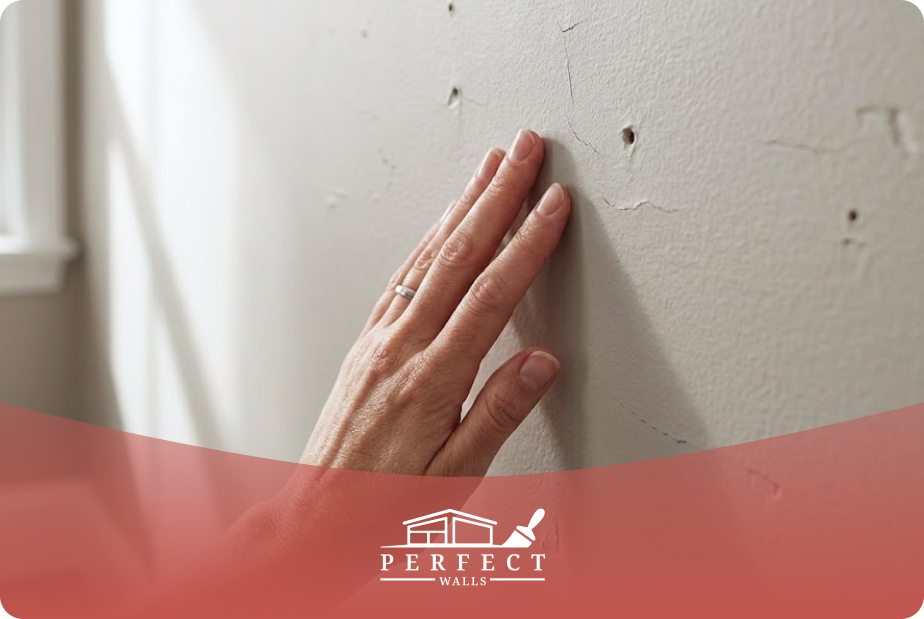
Check your walls under different lighting conditions. Natural daylight is especially revealing, but side lighting from lamps or overhead fixtures can expose uneven spots that disappear under direct light. Running your hand slowly over the surface can help, too, since your finger might catch subtle dips, ridges, or rough patches that your eyes miss.
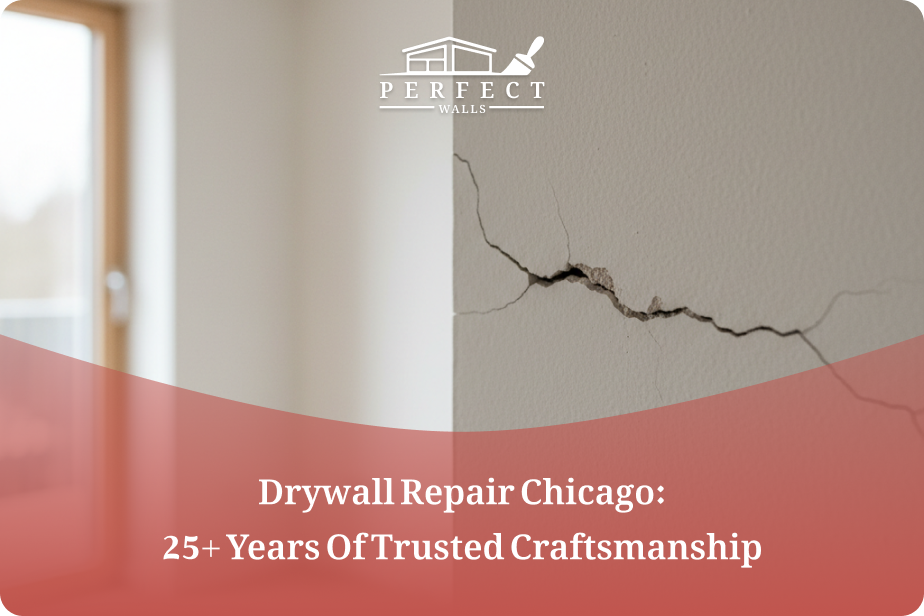
Common issues that you may find include nail holes, hairline cracks, small dents, and previous repairs that weren’t sanded or blended properly. Pay special attention to changes in texture and areas where the drywall finish looks inconsistent, especially around corners, seams, and high-traffic zones in your home.
This inspection step helps you decide how extensive your repairs need to be and minimizes the risk of discovering flaws once the painting process is already underway.
Tools and Products You’ll Need
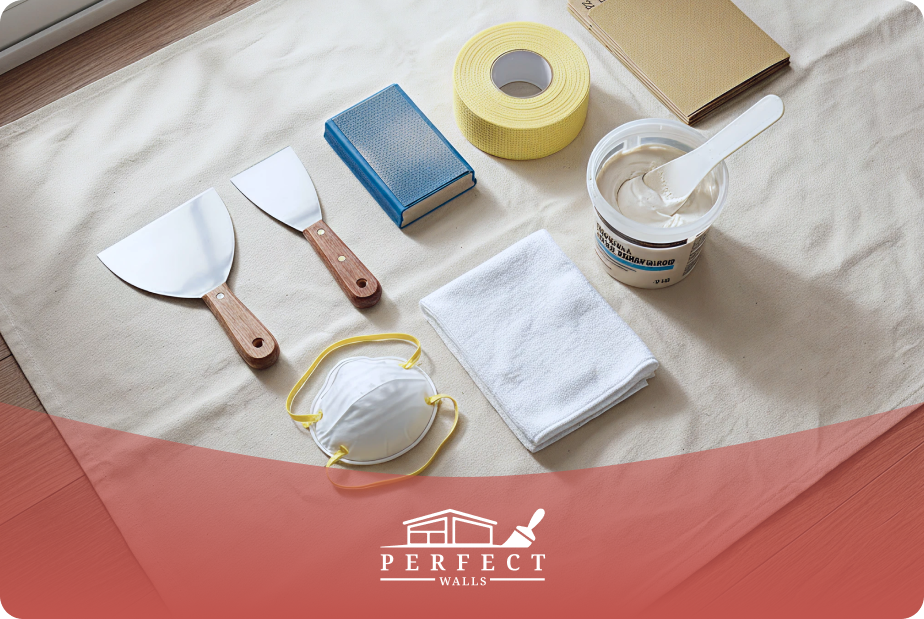
Getting your hands on the right tools and products makes drywall repair more efficient and improves the final result. While you don’t need professional-grade equipment, quality basics make a noticeable difference.
At the very least, you’ll need:
- A couple of putty knives (a narrow one for filling holes and a wider one for feathering).
- Sanding blocks or fine-grit sandpaper.
- Drywall tape (paper or fiberglass mesh).
- A clean cloth for removing dust.
It’s also a good idea to have a drop cloth and dust mask at hand, especially if you’re working in finished rooms.
For repairs, joint compound is a must. Lightweight joint compound works well for nail holes and minor damage, while all-purpose compound is better suited for larger patches and deeper repairs.
Spackling compound can handle very small nail holes, but joint compound tends to blend more smoothly into surrounding walls, giving you a more consistent drywall finish that holds up better under paint.
Addressing Water Damage Before Repairs
It’s important to rule out that any issues with your walls are caused by moisture or water-related damage. Unlike nail holes or surface cracks, water damage can compromise the integrity of the drywall, rendering even the most careful repairs ineffective.
Look for common signs like discoloration or stains, bubbling or peeling paint, soft spots, and musty odors. If you notice any of these, pause the repair process. Applying joint compound or paint over damp drywall will almost always lead to adhesion problems, recurring stains, or future cracking.
To solve water-related issues, first identify and fix the source of the moisture, whether it’s a minor plumbing leak, a roof issue, or condensation. Once that’s taken care of, allow the wall to dry completely; this can take several days. If the drywall is still soft or warped after drying, it may need partial replacement rather than just patching.
Only after the wall is dry and stable should you move on to standard drywall repairs.
How to Repair Common Drywall Damage
Once you’ve assessed your walls and gathered your tools, it’s time to start the actual repairs. The method you use depends on the size and severity of the damage, but patience matters more than speed at every stage.
1) Repairing Nail Holes and Small Wall Damage
Small holes may look insignificant, but they stand out clearly after painting if they’re ignored or rushed.
To repair nail holes, screw holes, or shallow dents:
- Clean out any loose debris or dust from the hole.
- Apply joint compound using a putty knife, pressing firmly into the hole.
- Scrape flush and let dry completely.
- Sand lightly until smooth and levelled with the surrounding wall.
If the compound shrinks, apply a second thin layer rather than overfilling on the first pass.
This same approach works well for minor wall damage and ensures repaired areas won’t reappear after painting.
2) Fixing Larger Holes and More Noticeable Drywall Damage
Larger holes require a slightly more structured approach. If the damage is bigger than a small puncture, you might need to use a drywall patch or some backing support to stabilize the area again.
After securing the patch, apply joint compound over it in thin, controlled layers, making sure each coat extends slightly beyond the previous one. Be sure to let each layer dry completely before adding the next one.
The key is gradual blending. As you build layers, you’re not just filling the hole, but recreating a smooth transition between the repaired area and the rest of the wall. Careful sanding between layers helps you build a uniform surface that won’t draw attention after painting.
3) Sanding and Creating a Consistent Drywall Finish
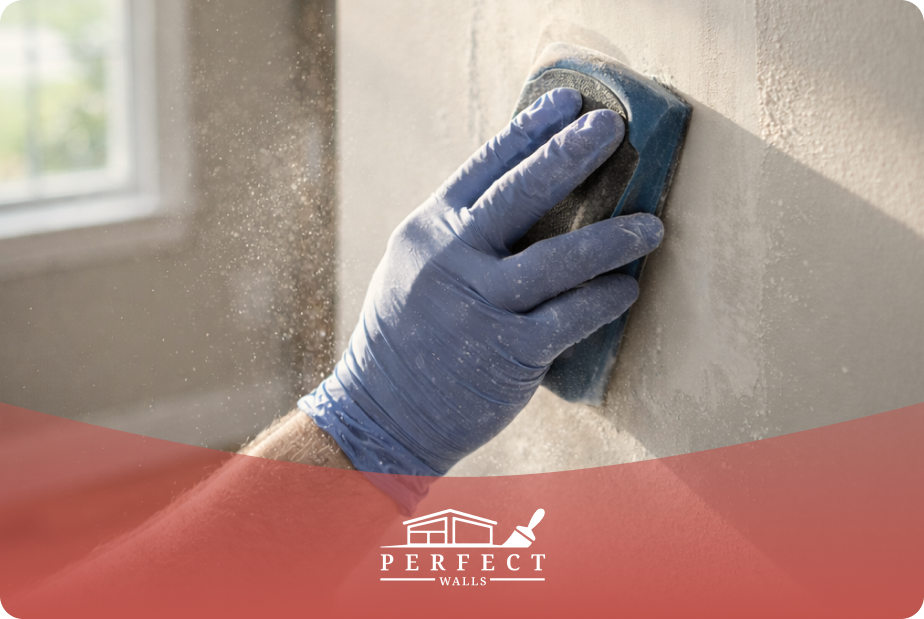
Sanding is what allows drywall repair to blend seamlessly into the wall. Rely on light pressure and fine grit to avoid unnecessarily gouging or flattening surrounding areas.
Focus on the following:
- Smoothing transitions between repairs and the original drywall.
- Removing any ridges left by the putty knife.
- Maintaining a consistent wall texture.
Over-sanding is just as problematic as under-sanding, especially for textured walls, which are designed to hide imperfections. So, check your progress frequently by running your hand across the surface.
Once sanding is complete, wipe the walls clean to remove dust, as this can interfere with how well the primer sticks and how the paint looks.
Preparing a Repaired Drywall for Painting: Primer, Texture, and Final Checks
Before painting, you should always prime any repaired walls. Primer helps seal the joint compound and prevents the paint from absorbing unevenly, which can cause dull or glossy patches after painting.
Apply primer evenly over repaired areas and allow it to dry fully. This is a good time to check for any flaws under uniform lighting. If you notice small imperfections remain, address them with a thin skim of joint compound, sand lightly once dry, and then re-prime.
Doing these final checks ensures that the entire wall, not just the repaired sections, is primed for a painting design that achieves a seamless and polished finish.
How Painting Can Reveal Imperfections You Didn’t See Before
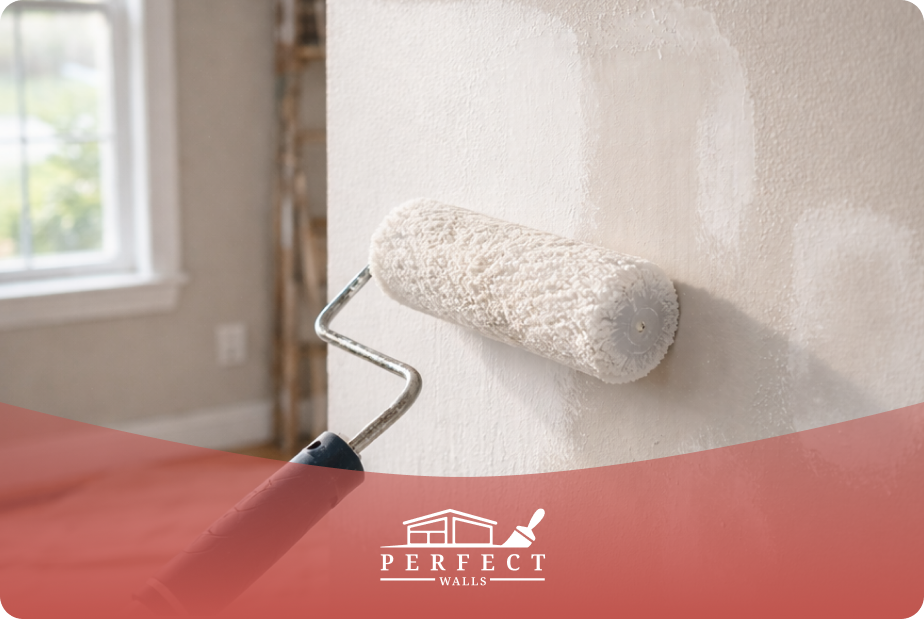
Once you start painting, even carefully prepared walls can reveal flaws. Wet paint reflects light differently, making dents, ridges, and uneven drywall finish suddenly visible.
You might see faint lines where the joint compound meets drywall, raised edges around patches, or irregular textures on the walls. Instead of viewing this as a failure, think of it as helpful feedback.
Paint usually reveals issues that might have been hidden in drywalls, and spotting them early lets you correct them before they’re locked in by additional coats.
What to Do When Issues Appear During the Painting Process
It’s normal to spot imperfections appearing mid-painting. When this happens, resist the temptation to keep going and hope the next coat fixes them. Instead, stop and fix the issue properly.
For best results, let the paint dry completely. Then, sand down the flaw and apply a thin layer of compound if necessary. Once it’s dry, spot-prime the area before resuming painting. Correcting problems right away prevents them from recurring on subsequent coats and protects the quality of the final finish.
Experienced professionals are trained to identify these issues early and correct them efficiently, preventing small flaws from compounding as the painting process continues.
Common Mistakes
Even careful homeowners can make mistakes. To achieve smoother results, avoid these common pitfalls:
- Using too much compound at once. Thick layers crack and shrink unevenly, requiring more sanding later.
- Rushing drying times. Painting over moist compound will negate all your previous prep efforts.
- Over-sanding repairs. This creates dips that become visible under paint.
- Skipping primer on repairs. Paint alone cannot properly seal joint compound.
- Ignoring wall texture consistency. Leading to smooth patches on textured walls stand out, or textured areas disrupting otherwise smooth surfaces.
By keeping these points in mind, you can enhance the quality and durability of your home repairs.
How Perfect Walls Helps Homeowners Get Flawless Results
There are times when drywall repair and painting benefit from professional expertise, especially when results need to be consistent, durable, and visually seamless. If there’s extensive damage, repairs across multiple rooms, or if an entire wall needs resurfacing, it can be tough to handle without experience. High-visibility spaces and tight timelines also increase the margin of error.
At Perfect Walls, we approach drywall repair and painting as a single, integrated process. Instead of treating repairs as isolated fixes, we focus on achieving uniform walls with harmonious texture, finish, and paint performance. This includes advanced surface preparation, controlled sanding, and application techniques that reduce disruption inside your home.
If you want to avoid guesswork and costly rework, request a consultation with our team to evaluate your walls, plan the necessary repairs, and achieve a finished wall that looks exactly as it should: smooth, even, and built to last.