 (630) 528-1955









How to Tape and Mud Drywall the Right Way
So you’ve got drywall hung, screws set, and seams staring back at you. Now comes the part that actually determines whether your walls look finished or halfway done: figuring out how to tape and mud drywall.
It’s at this stage that the quality of the work really starts to show. The drywall sheets can be perfectly cut and fastened, but if the mud and tape work is sloppy, you’ll see every seam, every bump, and every shortcut once the paint goes on.
The good news is that, with the right techniques, tools, and a bit of patience, you can get clean, professional-looking joints on your own.
At Perfect Walls, we handle drywall installation and finishing across Chicago every day, so we know exactly where people tend to struggle with this process. This guide breaks it all down, step by step, so you can drywall tape and mud with confidence.
What You’ll Need to Tape and Mud Drywall
Before you open a single bucket of compound, make sure everything is lined up so you don’t have to run back to the store mid-project while mud is drying on your knife!
Materials:
-
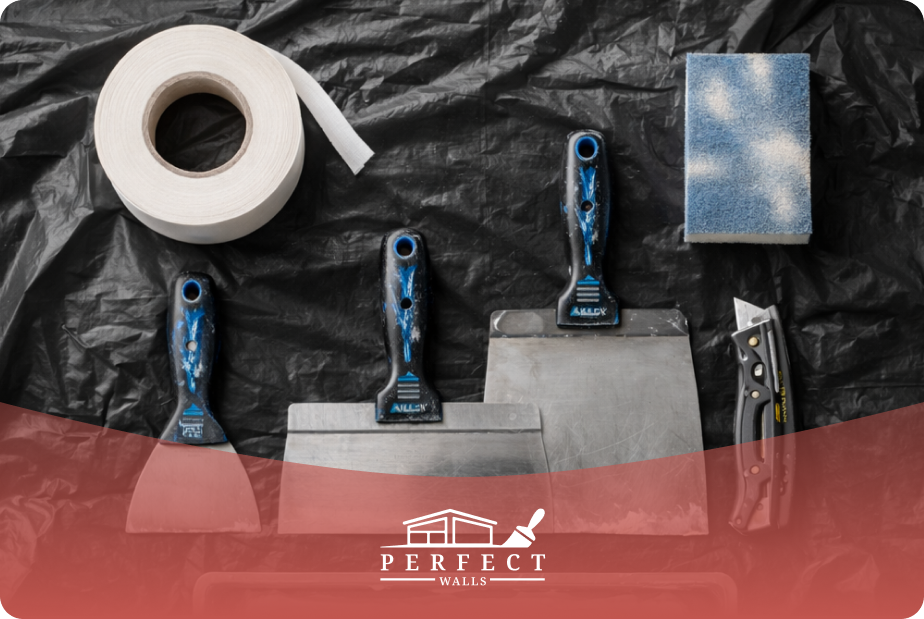
Joint compound (also called “mud”). For most DIY work, go with pre-mixed all-purpose compound. It’s forgiving, easy to sand, and works for all three coats. Setting-type compound (the powder you mix yourself) dries faster and harder, but it’s tougher to sand. Save that for repairs or situations where you need a quick turnaround.
-
Drywall tape. You’ve got two options. Paper tape is stronger, folds cleanly into corners, and is what most professionals reach for. Mesh tape is self-adhesive and easier to apply to flat seams, but it needs a setting-type compound to hold properly. For this guide, we’ll focus on paper tape since it’s the more versatile choice.
-
Corner bead for outside corners (metal or vinyl).
Tools:
-
Mud pan (a long, narrow tray to hold your compound while you work).
-
Taping knives: 6-inch for the first coat, 10-inch for the second coat, and 12-inch for the finish coat.
-
Sanding sponge or pole sander (120-150 grit).
-
Utility knife.
-
A bright work light (you’ll need this for spotting imperfections later).
Additionally, take a close look at your drywall. If you notice stains, soft spots, or signs of water damage, address the source of moisture first. Otherwise, any taping and mudding you do won’t hold up for long.
Quick tip: If your knives are old and nicked, replace them. A clean, straight edge on your knife makes a bigger difference than your technique on any given stroke.
How to Tape and Mud Drywall: The Step-by-Step Process
Step 1: Prep the Seams
Run your hand along every joint and check that all screws sit just below the surface of the drywall sheet. If a screw head sticks out even slightly, your knife will skip over it, leaving a ridge in the mud. Drive it down until it dimples the paper without breaking through.
Tear away any loose paper facing around the joints. If you’ve got rough or torn edges, trim them clean with a utility knife. Dust off the seams, as you want compound bonding to drywall, not to dust.
This step takes only ten minutes, but it saves you hours of frustration later. The last thing you want is to end up with bubbling tape and cracked walls!
Step 2: Apply the Bedding Coat
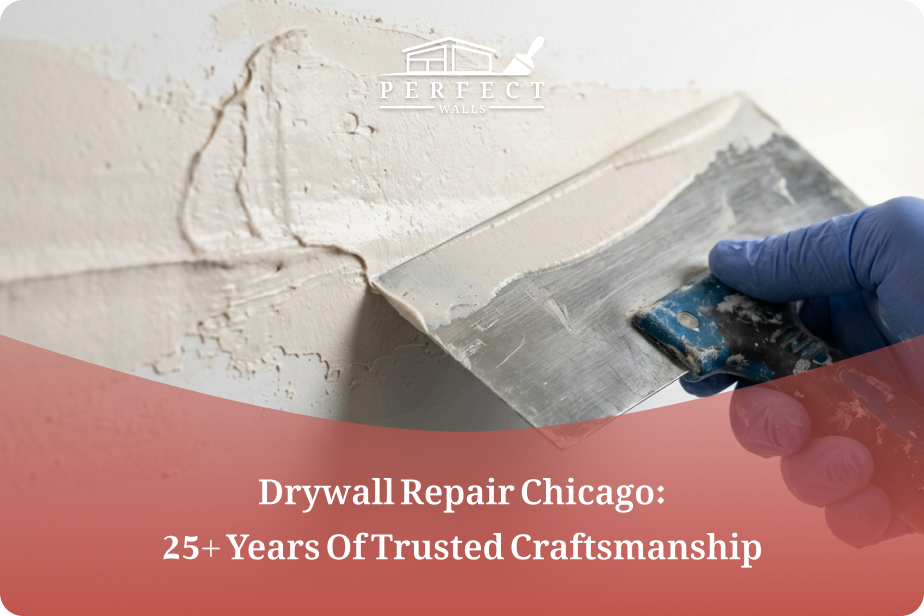
Load your mud pan with joint compound. Scoop a generous amount onto your 6-inch knife.
Starting at one end of the seam, spread a thin, even layer of compound directly over the joint. You want it about 1/8-inch thick and wide enough to cover the seam, plus about an inch on each side.
Work in smooth, steady strokes. Press firmly enough to fill the joint, but don’t scrape the knife flat against the wall, or you’ll leave too little mud for the tape to stick.
For butt joints (where two non-tapered ends of a drywall sheet meet), apply compound the same way, but know these joints sit slightly raised. You’ll deal with that in the later coats by feathering wider.
Step 3: Embed the Drywall Tape
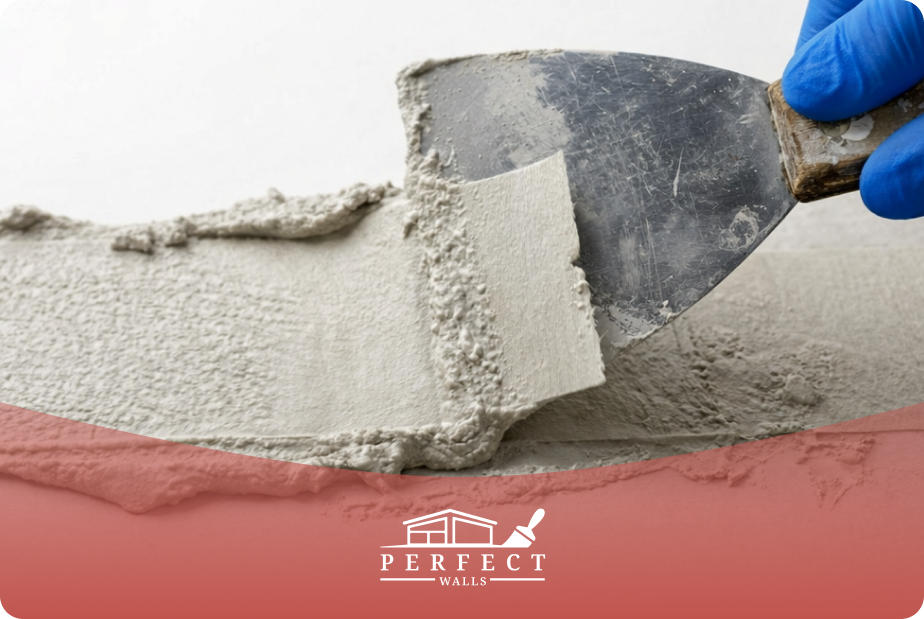
Unroll a length of paper tape and press it into the wet compound, centering it over the seam. Use your 6-inch knife to smooth the tape outward from the center. Apply firm, even pressure.
You’re doing two things here: bonding the tape to the compound beneath it and squeezing out excess mud and air bubbles. If you see a bubble, peel the tape back to that point, add a little more compound, and re-smooth.
The taping step is important to give joints structural strength. The tape covers the seams and stops cracks from forming as the house moves and settles. Without it, the compound will crack within a few months.
After embedding, apply a very thin skim coat of mud over the top of the tape, just enough to cover. Don’t try to make it perfect. This is coat one; it will look rough, and that’s fine.
Step 4: Apply the Filler Coat (Second Coat)
Let the bedding coat dry completely. In a well-ventilated room, it usually takes 12 to 24 hours. To avoid guessing, press a finger to it: if it feels cool or soft, it’s not ready.
Once dry, lightly sand any ridges or bumps, just enough to knock down high spots so the next coat goes on flat.
Switch to your 10-inch knife. Apply a second layer of compound over the taped joint, extending a few inches wider on each side. This is where you start feathering: thinning the edges of the mud so they blend gradually into the surrounding wall.
Think of it like spreading frosting on a cake: the center stays thicker over the seam, and the edges taper to nothing. The wider you feather, the more invisible the seam becomes.
Step 5: Apply the Finish Coat (Third Coat)
Same routine. Let the coat dry. Sand lightly. Wipe dust.
Now pick up the 12-inch knife. Apply a very thin final coat of compound, extending even wider than the second. You’re not adding material so much as smoothing and blending. The goal here is that when you run your hand along the wall, you shouldn’t be able to feel the seam.
This coat takes the lightest touch. Let the knife’s weight do most of the work. If you’re pressing hard, you’re probably leaving tool marks.
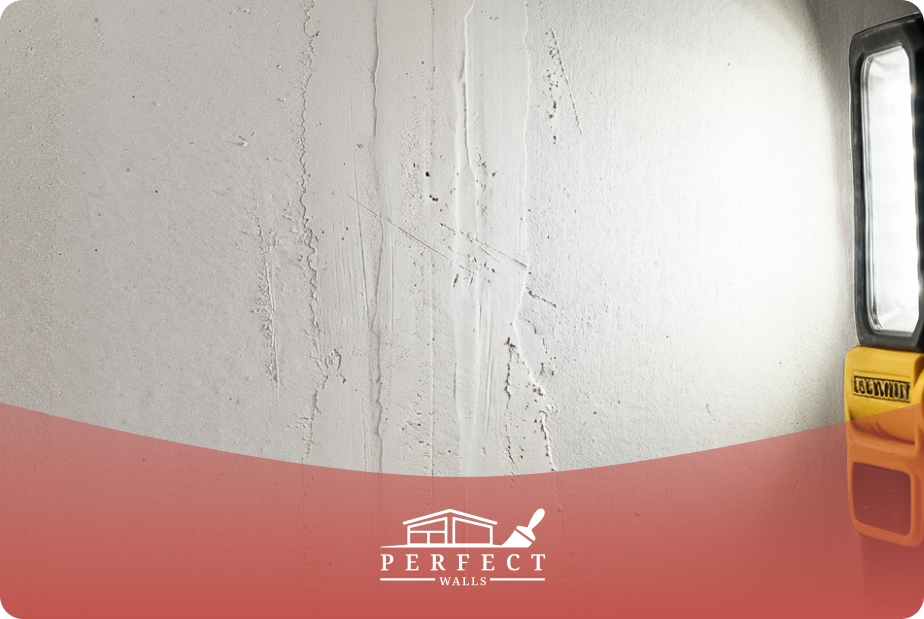
One thing that helps: after the final coat dries, hold a bright work light flat against the wall at a sharp angle. Shadows will reveal every ridge, scratch, and imperfection you might’ve missed.
Step 6: Final Sanding
Once everything is dry, do a final pass with your sanding sponge or pole sander. Use 150-grit to achieve smooth walls. Sand in circular motions, applying light, even pressure. Be careful not to oversand, as that can cut through the compound and expose the tape underneath!
Wipe down the walls with a damp cloth to remove dust before priming and painting.
And that’s it! Apply these steps, adapt as you go, and you’ll quickly learn how to tape and mud drywall.
Common Mistakes When You Mud and Tape Drywall
Even with the right process, a few missteps can undo your good work. Watch for these:
-
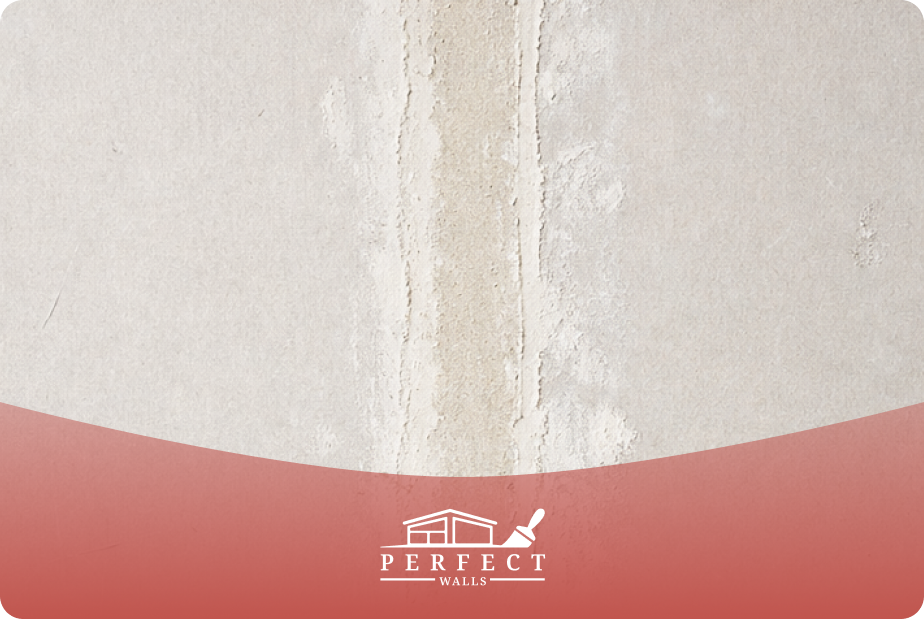
Applying too much mud per coat. Thick layers crack, shrink, and take forever to dry. Three thin coats will always beat one thick one.
-
Skipping the bedding coat under the mesh tape. Mesh tape needs compound underneath and a setting-type compound on top of that. Sticking mesh directly to a dry seam and covering it with all-purpose mud is a recipe for tape failure.
-
Not letting coats dry fully. Every coat must dry before you sand or apply the next one. A compound that looks dry on the surface might still be wet underneath. If it’s not uniformly white (or the color of the dried product), wait longer.
-
Using dull or damaged knives. A nick in the blade leaves a ridge in every stroke. Swap in fresh knives, especially for the finish coat.
-
Sanding too aggressively. Go for light passes. If the brown paper tape shows through, you’ve gone too far. Skim on more compound, let it dry, then gently re-sand.
-
Ignoring butt joints. These seams sit proud of the surface and need wider feathering than tapered joints. If you treat them the same, you’ll see them through the paint.
Get Smooth, Professional Results Without the Trial and Error
You’ve read the process. You’ve seen the tools list, the coats, the sanding, and the drying time. Maybe you’re feeling confident and ready to go. That’s great, and this guide hopefully gives you everything you need to do it well.
But here’s the honest reality: learning how to tape and mud drywall is one of those skills that rewards repetition. Your first room will likely take twice as long as your second, and the results will show the difference. Plus, some walls have tricky angles, water damage, or older drywall that doesn’t respond the way new sheets do.
If you want a finish that looks seamless from day one, bringing in a professional can make all the difference. You’ll save time, avoid rework, and get smooth walls ready for paint without the guesswork.
Perfect Walls is here to help you. Our team works with homeowners across Chicago, handling everything from single-room drywall repairs to full-home finishing. We show up, assess your space, and give you an honest recommendation about your options.
If you’d rather hand it off, request a consultation and let our team take care of the rest.
FAQs: How to Tape and Mud Drywall
1. How many coats of mud do you need on drywall tape?
Most drywall joints need three coats of joint compound: a bedding coat to embed the tape, a filler coat to build up and blend, and a finish coat to achieve a smooth surface. Each coat must dry fully and be lightly sanded before you apply the next one.
2. Can you mud drywall without tape?
No. Without tape, joint compound alone will crack along seams. Drywall tape, whether paper or mesh, bridges the joint and absorbs movement as the structure shifts. Skipping tape is the most common reason for visible seam cracks in drywall repair work.
3. Is paper tape better than mesh tape for drywall?
Paper tape is stronger and works better for inside corners and high-stress joints. Mesh tape is easier to apply to flat seams but requires a setting-type compound. Most professionals use both, choosing based on the joint type and the specific demands of the project.
4. How long does it take to tape and mud drywall?
A standard room typically takes one to three days to tape and mud, depending on size and drying conditions. Each coat of compound needs 12 to 24 hours to cure. Temperature, humidity, and ventilation all affect the process timeline. Plan for at least three working sessions.
5. What’s the best joint compound for beginners?
Pre-mixed all-purpose joint compound is the easiest option for beginners: it comes ready to use, works for all three coats of the taping and mudding process, and sands smoothly. Setting-type compounds cure faster but are significantly harder to sand and less forgiving of mistakes.