 (630) 528-1955









How to Fix Water Stains On the Ceiling in 7 Steps
Why Water Stains Appear on Your Ceiling
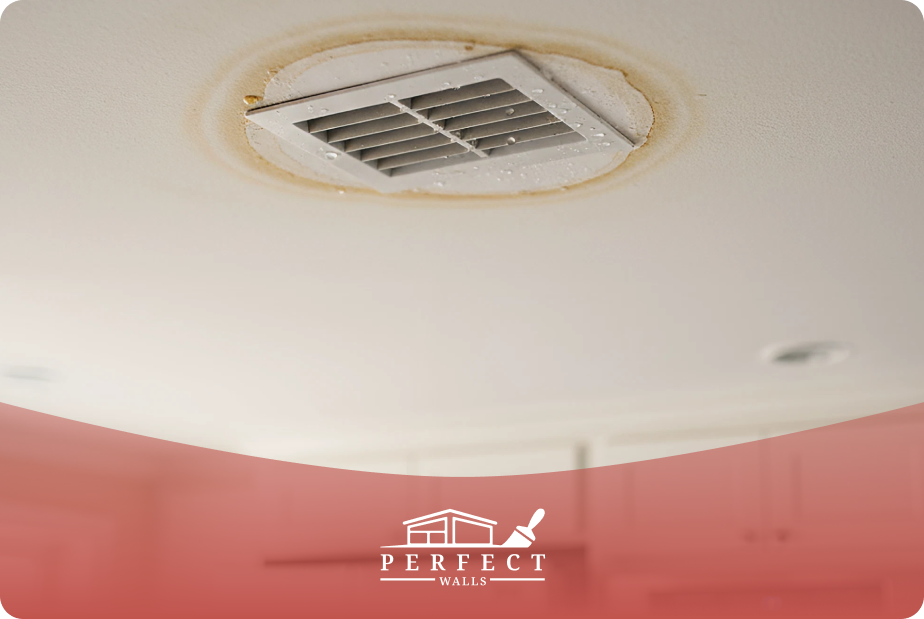
Before embarking on repairs, it’s crucial to understand the causes of water stains. Simply covering the stain with paint won’t resolve the underlying issue.
Here are the 4 most common causes of discoloration on your ceiling:
Roof Leaks
If you have water stains after a rainstorm, your roof may be the culprit. Damaged shingles, cracked flashing, or aging roofing materials can allow water to seep through and leave unsightly stains.
Each year, over 14,000 U.S. homeowners experience water damage emergencies, many of them linked to roof leaks.
Plumbing Leaks
Bathrooms or plumbing lines located above the ceiling are familiar sources of water damage.
A leaky pipe, overflowing toilet, or faulty connection can cause water to pool and seep downward. For example, a small drip under the kitchen sink can soak cabinets and flooring, which leads to hidden mold growth over time.
If you are wondering how to fix water stains on ceiling drywall caused by plumbing issues, the first step is to repair the pipe before addressing the stain itself.
In a majority of cases, homeowners rely on professional water damage restoration in Chicago to repair affected areas and prevent further structural or mold issues.
Condensation and Humidity
In kitchens, bathrooms, or poorly ventilated spaces, excess humidity can accumulate. Over time, condensation may leave yellow or brownish rings on the ceiling.
Did you know that more than 50 million U.S. homes struggle with excess moisture and humidity?
Addressing moisture early with proper ventilation and maintenance is the best way to prevent stains and protect your home’s structural integrity.
HVAC Issues
Air conditioning units with clogged drain lines or poorly insulated ductwork may drip water into the ceiling, leaving behind noticeable stains.
A clogged condensate drain line is one of the most frequent causes of A/C leaks, leading to water stains and dark spots on the ceiling if your AC system is in the attic.
7 Steps on How To Fix Ceiling Water Stains on Ceilings
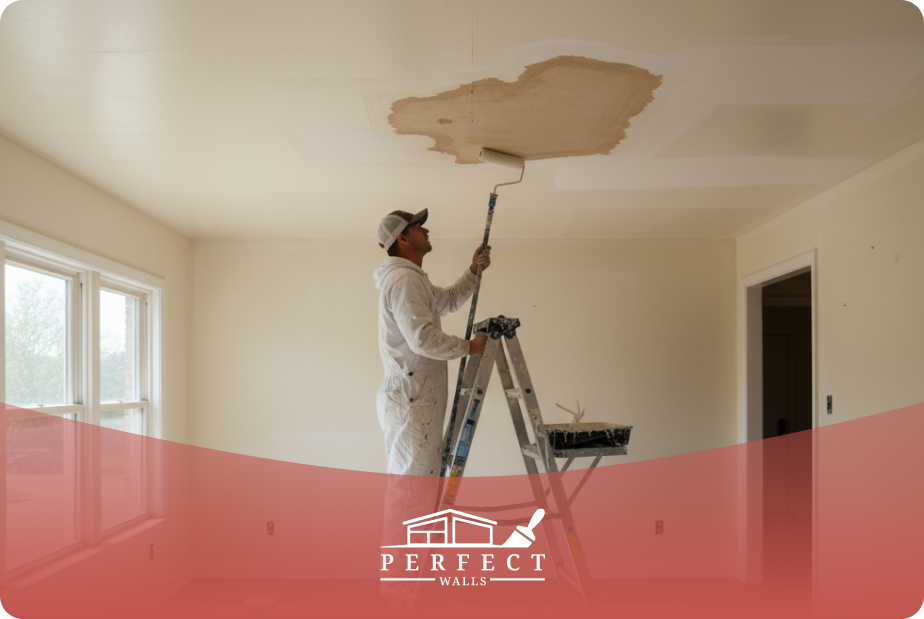
Once you’ve identified and fixed the moisture source, it’s essential to let the affected area dry completely.
This might take anywhere from a few hours to a couple of days, depending on the extent of the damage and the surrounding environment.
Using fans, dehumidifiers, or simply opening the space can help things dry faster and prevent mold from forming. Combine those with these seven simple steps on how to fix water stains on the ceiling.
Step 1: Identify and Rectify the Water Source
You cannot successfully fix a ceiling stain until you stop the water from entering. This step may require professional assistance depending on the cause.
- For Roof Leaks: Inspect your roof for damaged or missing shingles, cracks in flashing, or clogged gutters. You may need to hire a roofing contractor if the damage is extensive.
- For Plumbing Leaks: Check for dripping pipes, loose fittings, or cracked seals. In some cases, you might need a plumber to repair or replace pipes before you even start thinking about how to fix water stains on the ceiling.
- For Condensation: Improve ventilation by installing exhaust fans in bathrooms and kitchens, or by installing a dehumidifier to reduce moisture levels.
- For HVAC Problems: Clean drain lines, insulate ductwork, and ensure your system is properly maintained.
This thorough approach ensures a secure and long-lasting solution, giving you confidence in the repair.
Step 2: Assess the Ceiling Damage
Nearly 34.7% of homeowners report discovering water stains on their ceilings each year. Not all water stains are equal. Some only affect the surface paint, while others may weaken the drywall or plaster underneath
Take time to inspect the ceiling for:
- Soft or sagging spots
- Peeling or bubbling paint
- Mold or mildew growth
- Large areas of discoloration
If the drywall is soft or crumbling, you’ll need to cut out and replace the damaged section rather than just cleaning and painting over it.
Step 3: Clean and Prep the Stained Area
Once the leak has been repaired and the ceiling is dry, preparation begins.
- Protect the Room: Lay down drop cloths and move furniture out of the way. Make sure to wear gloves and safety glasses to protect yourself.
- Clean the Surface: Mix a cleaning solution of one part bleach to three parts water. Use a sponge to scrub the stain gently. This will kill any mold spores and lighten the discoloration. Rinse with clean water and let it dry completely.
- Sand the Area: Lightly sand the affected section to smooth out any peeling paint or rough edges. This creates a better surface for priming and painting.
Step 4: Prime the Ceiling
A water stain is notorious for bleeding through paint, even after multiple coats. The key to preventing this is a high-quality stain-blocking primer.
- Use an oil-based or shellac-based primer for best results.
- Apply one or two coats, making sure to cover slightly beyond the stained area for an even finish.
- Let the primer dry completely before painting.
For example, a kitchen ceiling stained from a small leak above the roof can remain visible through standard paint, but using a shellac-based primer will fully block the discoloration.
Step 5: Paint the Ceiling
Now that the surface is prepped and primed, you’re ready to paint.
- Choose a paint that matches your existing ceiling color. Flat or matte finishes are most common for ceilings.
- Apply at least two coats for even coverage.
- Use a roller for large areas and a brush for corners and edges.
For larger stains or entire sections, it may be better to repaint the entire ceiling for a seamless look. For the best results, consider painting the entire ceiling, rather than just the stained area, to achieve a more uniform and professional appearance.
Step 6: Replacing Damaged Ceiling Sections
If your inspection revealed soft, sagging, or crumbling drywall, painting over the stain won’t be enough. You’ll need to replace the damaged section:
- Use a utility knife to carefully cut out the damaged section of drywall.
- Measure and cut a new piece of drywall to fit the opening.
- Secure the new piece with drywall screws.
- Apply joint compound and drywall tape over seams.
- Sand the area smooth once dry, then prime and paint as described above.
Though this step is more labor-intensive, it ensures your ceiling regains its full structural strength.
Step 7: Preventing Future Water Stains
Fixing the stain is only half the battle. You’ll also want to take steps to prevent it from happening again:
- Schedule Roof Inspections: Catch leaks before they spread.
- Maintain Plumbing Systems: Regularly check for slow leaks.
- Improve Ventilation: Use fans in moisture-prone rooms.
- Service HVAC Systems: Clean drain lines and replace filters.
- Use Mold-Resistant Paints: This is especially useful in bathrooms and kitchens.
Proactive maintenance saves time, money, and stress in the long run.
When Is The Right Time to Call the Professionals
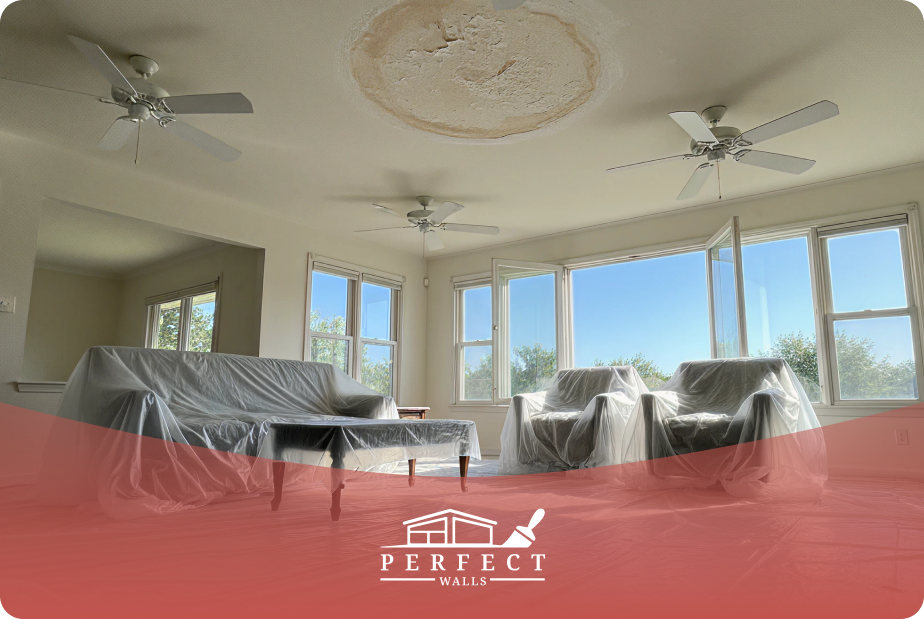
While minor water stains can often be handled with DIY methods, some situations require professional expertise:
- The source of the leak is unclear.
- The damage is widespread or involves structural issues.
- Mold has spread across large sections of the ceiling.
- You’re uncomfortable working with drywall or electrical components.
We specialize in repairing and restoring ceilings damaged by water.
Our team addresses the cosmetic issue and ensures the root cause is solved, leaving your home safe, clean, and beautiful again.
Related Services from Perfect Walls
Our team provides comprehensive solutions to restore your ceilings and wall damage or staining. These professional services guarantee a high-quality finish and long-lasting results:
- Interior house painters: Expertly repair and repaint ceilings and walls to achieve a smooth, uniform look.
- Exterior house painters: Protect and enhance your home’s exterior surface.
- House painting and design: Combine painting with thoughtful design to blend repairs and elevate your space.
These services enable us to deliver comprehensive results, eliminating water damage rather than just covering it up.
Committed to Restoring The Peace and Stability You Deserve
Water stains on your ceiling might seem overwhelming, but with the proper steps, they can be fixed.
By finding the source, cleaning and preparing the surface, applying stain-blocking primer, and finishing with quality paint, you can return your ceiling to its original look.
Still, for many homeowners, the safest and most effective option is to let the experts handle it.
We are here to help you every step of the way, from diagnosing the problem to providing flawless repairs.
If you’ve been searching for the best advice on how to fix water stains on ceiling areas and want lasting results, contact us today and let us restore your home’s beauty and integrity.