 (630) 528-1955









How to Paint Textured Walls: A Homeowner’s Guide
Transforming a room with a fresh coat of paint is not only quick but also one of the most affordable ways to give it a new look. However, when dealing with textured walls, it can feel like a whole new challenge, but with proper guidance, you can conquer this task with confidence.
Whether your walls are lightly textured with an orange peel finish or heavily stuccoed or popcorn-affected, learning how to paint textured walls properly can make all the difference.
In this guide, we’ll walk you through everything you need to know about painting textured walls and completing the job, step by step.
Why Are Walls Textured in the First Place?
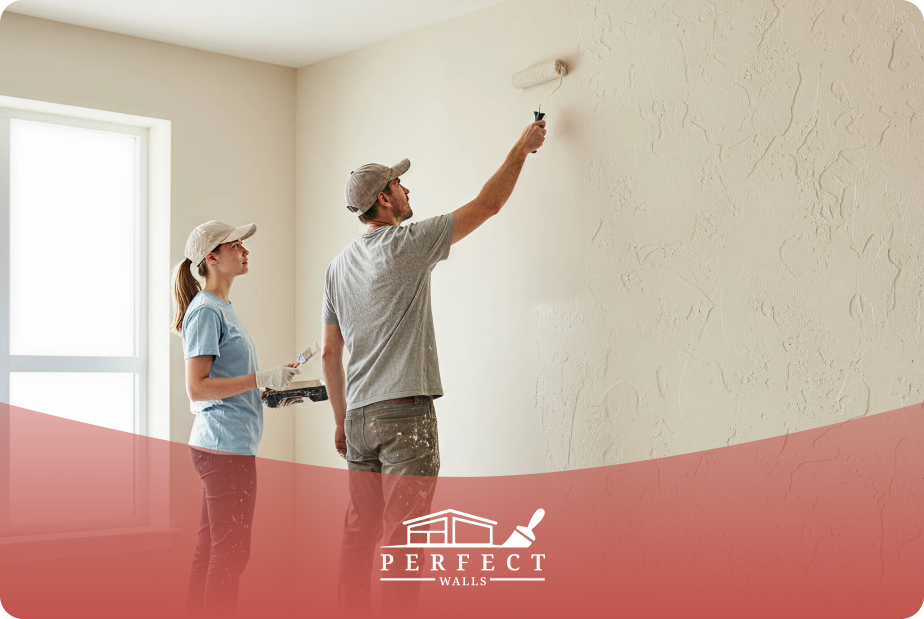
Before jumping into the process, it helps to understand why walls are textured at all. There are a few reasons:
- Hiding imperfections: Builders in charge of drywall installation in the Chicago area often apply textured finishes to hide minor imperfections, cracks, or uneven drywall surfaces.
- Durability: Textured finishes can withstand wear and tear better in busy households.
- Aesthetic choice: Some homeowners prefer the character and visual interest that texture brings to a room.
It’s essential to note that the texture on your walls serves not only decorative purposes but also a functional one. Professionals often explain to clients that textured walls are more durable and can better hide imperfections than smooth walls, providing a sense of reassurance about their design choices.
Types of Textured Walls
There are several common types of textured walls, each requiring slightly different preparation and painting techniques.
Understanding the specific type of texture will help you select the appropriate tools and methods to ensure a professional-looking result.
Not all textures are created equal. Here are some common types you might encounter:
- Orange Peel: Subtle and dimpled, resembling the skin of an orange.
- Knockdown: Flattened, irregular shapes for a more dramatic look.
- Popcorn: Heavily textured, often used on ceilings, sometimes on walls.
- Stucco or Plaster: Thick, rough finishes with rustic appeal.
Each type requires slightly different care, and experienced painters know precisely how to adapt tools and techniques for the best finish.
Tools and Supplies You’ll Need
Painting textured walls requires more than just a basic brush and roller. Here’s a checklist of supplies:
- High-quality paint (eggshell or satin for durability)
- Primer (essential for stains or dark colors)
- Thick-nap paint rollers (¾-inch or more)
- Angled brushes
- Extension pole
- Painter’s tape
- Drop cloths or plastic sheeting
- Ladder or step stool
- Patch and repair kit
- Paint tray and liners
Optional but helpful: paint sprayer, sandpaper, or shop vacuum.
Our team always emphasizes the importance of choosing professional-grade rollers and primers, since drywall texture ideas demand more from your tools.
Step-by-Step: How to Paint Textured Walls
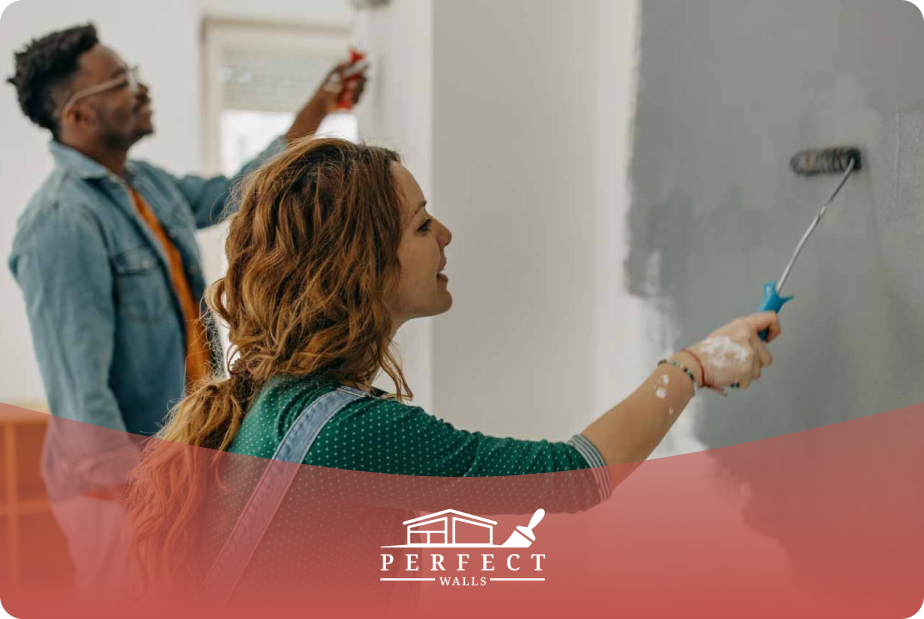
Painting textured walls can be tricky, but with the right tools, preparation, and technique, you can achieve a smooth, even finish that enhances your home’s character.
1. Prepare the Room
Move or cover furniture, protect floors, and tape off trim, outlets, and baseboards.
2. Clean the Walls
Dust and wash walls. Greasy areas may need a mild detergent.
3. Repair and Patch
Fill cracks or holes with spackle, sand lightly, and let dry.
4. Prime the Walls
Seal surfaces and block stains with a high-quality primer. The experts at Perfect Walls recommend not skipping this step, as primer ensures the paint adheres evenly to textured surfaces.
5. Choose the Right Roller
Match the roller nap to the wall texture: use a ¾-inch nap for light textures and a 1-inch nap or more for heavy textures.
6. Apply the First Coat
Roll the paint in a “W” pattern, covering the area thoroughly. Cut in edges with an angled brush.
7. Check for Missed Spots
Inspect under good lighting and touch up as needed.
8. Apply a Second Coat
Apply at least two coats for even coverage.
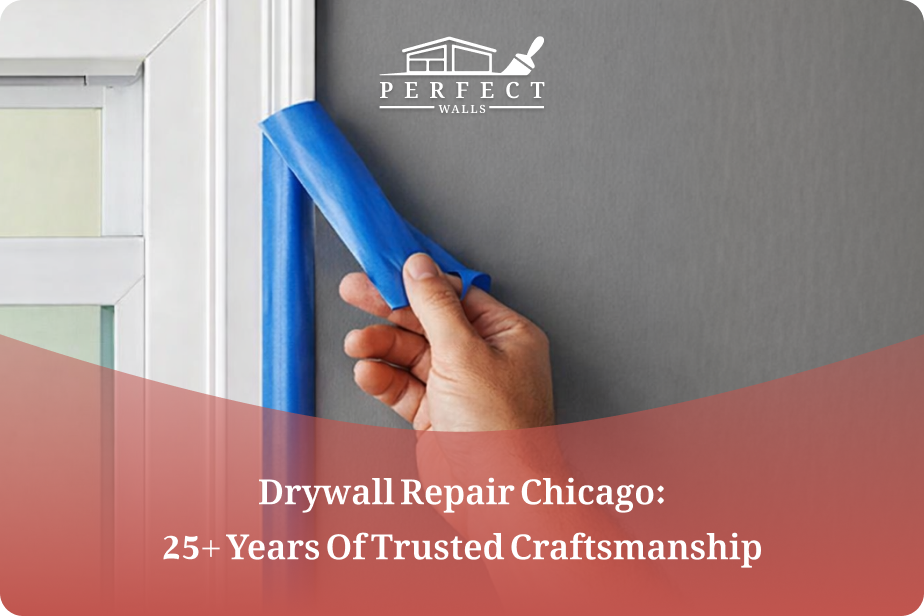
9. Remove Painter’s Tape
Remove carefully at a 45-degree angle once the paint dries.
10. Clean Up
Wash brushes, rollers, and trays right away.
After the final coat has dried completely, it is advisable to inspect the walls thoroughly for any inconsistencies or missed spots. If necessary, you touch up these areas with a small brush to ensure a uniform appearance.
Following these detailed steps will ensure your textured walls are beautifully and durably painted.
Tips for Success
- Buy extra paint since textured walls absorb more.
- Paint under good lighting.
- Use a sprayer for large or heavily textured walls.
- Satin or eggshell finishes work best.
- Be patient, painting textured walls takes time.
Patience and the proper technique are the two most essential ingredients for success.
Common Issues When Painting Textured Walls (and How to Fix Them)
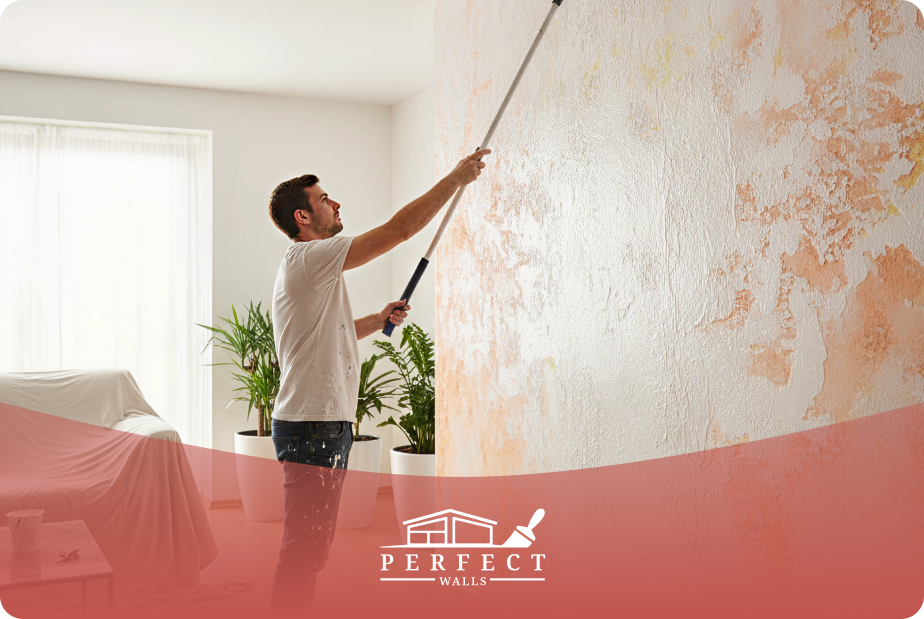
Even with the best preparation, textured walls can present some challenges. Here are the most common issues and tips to overcome them:
- Uneven Coverage: The texture creates peaks and valleys that make it easy to miss spots.
- Solution: Use a thick-nap roller and roll over each section from multiple angles to ensure even coverage, and spot-check with good lighting.
- Excessive Paint Absorption: Rough textures soak up paint.
- Solution: Always apply primer first and buy extra paint to avoid running out.
- Wrong Roller Choice: Using too short or too thick a nap can cause streaking or splatter.
- Solution: Match the roller nap to the texture depth; this is something Perfect Walls professionals always prioritize.
- Splatter and Drips: Paint can collect in crevices.
- Solution: Work slowly, don’t overload your roller, and keep a brush handy to smooth out drips.
- Skipping Primer: Without primer, you may end up with blotchy coverage.
- Solution: Always prime, especially with darker colors or stains.
- Touch-Up Difficulties: Blending minor touch-ups can be challenging.
- Solution: Feather out the edges of touch-ups and keep leftover paint stored for consistency.
- Longer Drying Times: Heavy coats take longer to dry.
- Solution: Follow the manufacturer’s drying times strictly before recoating.
- Corners and Edges: Hard to reach into grooves.
- Solution: Use high-quality angled brushes and work slowly around the trim.
To get the best results, always ensure proper ventilation during and after painting to facilitate drying and reduce fumes.
Additionally, wear protective gear, such as gloves and a mask, to avoid direct contact with the color and inhalation of fumes.
Remember to add a sealant or protective topcoat once the paint has dried. This small step can significantly enhance durability and make cleaning easier.
When to Consider Hiring a Professional
Hiring a professional is highly recommended when dealing with complex textures or large wall surfaces, as their expertise can significantly reduce the risk of errors and uneven finishes.
Professionals also have access to specialized tools and techniques that ensure a smoother application and a more durable result.
If time constraints or lack of experience are concerns, entrusting the project to experts like Perfect Walls can save you both effort and frustration.
Ultimately, investing in professional services can lead to a superior aesthetic outcome and long-term satisfaction with your textured walls.
You may want to hire a professional if:
- You have very tall or hard-to-reach walls
- The texture contains asbestos (like older popcorn finishes)
- You prefer to save time and effort
This is where our team excels, taking on tasks that feel overwhelming and ensuring they’re done safely and beautifully.
Transform Your Home with Perfect Walls Services
The Perfect Walls team doesn’t just specialize in textured wall painting. Here are some of the key services we provide:
- Interior Painting: Refreshing walls, ceilings, and trim for a brand-new look.
- Exterior Painting: Durable finishes to protect and beautify the outside of your home.
- Design and Color Consultation: Helping you choose the perfect palette for your space.
Partnering with a professional team like Perfect Walls ensures that your textured walls are not only beautifully finished but also durable and long-lasting.
We use specialized tools and techniques to address common issues such as uneven coverage and splatter, ensuring a smooth, uniform appearance.
Our experts offer valuable guidance on maintenance and touch-up procedures to help preserve the integrity of your walls over time.
Relying on experienced experts is the best way to attain outstanding results, whether it’s a minor update or a complete renovation.
Mastering the Art of Painting Textured Walls
Learning how to paint textured walls takes preparation, patience, and the right tools. From choosing the proper roller nap to applying multiple coats, each step ensures a smooth, long-lasting finish.
This guide provides essential techniques for successfully achieving a range of finishes, from a delicate orange peel texture to a robust stucco surface.
And if DIY isn’t your style, we are ready to deliver professional results. Now that you know how to paint textured walls, you can give any room in your home a fresh, updated look.
Want to explore all that we offer?
Reach out to us to see how we can bring your walls to life.